Cleaning refrigerator coils is essential for optimal appliance performance, and many homeowners wonder about the best methods to do so. You can use compressed air to clean refrigerator coils effectively, but it requires careful consideration to avoid potential downsides. Using compressed air can dislodge dust and debris in hard-to-reach areas, making it a convenient option when performed correctly.
In addition to compressed air, several other methods exist for cleaning refrigerator coils. Each has its advantages and possible drawbacks, depending on your specific situation. This article will guide you through the best practices for maintaining your refrigerator coils, ensuring efficiency and longevity for your appliance.
Understanding Refrigerator Coils
Refrigerator coils play a crucial role in your appliance’s operation. They help maintain energy efficiency by transferring heat away from the interior to keep your food cold.
There are two main types of coils in a refrigerator:
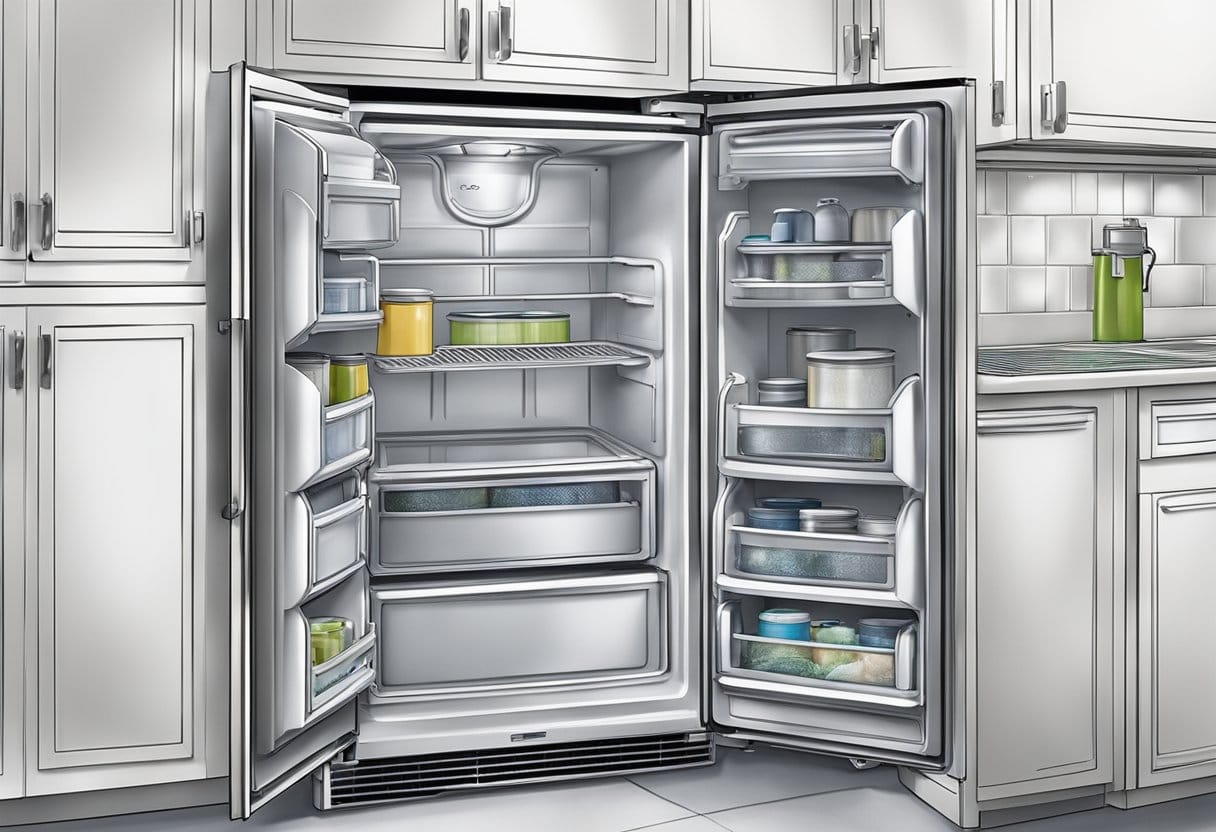
- Condenser Coils: Located on the back or bottom, these coils release the heat absorbed from inside the fridge to the outside air.
- Evaporator Coils: Found inside the fridge, they absorb heat, allowing the refrigerant to cool the air circulating within your appliance.
Keeping these coils clean is essential. Dust and debris can accumulate, hindering their performance. When coils are dirty, your refrigerator has to work harder, leading to increased energy consumption and reduced lifespan.
Using compressed air is an effective method to clean condenser coils. It reaches tight spaces, dislodging dust without causing damage. For best results, make sure your refrigerator is unplugged before cleaning.
Regular maintenance of your refrigerator coils not only improves energy efficiency but also saves you money in the long run. Clean coils can lead to better cooling performance and reduced wear, enhancing the overall lifespan of your appliance.
Benefits of Cleaning Refrigerator Coils
Cleaning refrigerator coils brings several advantages that enhance performance and efficiency.
1. Improved Energy Efficiency
Dirty coils can hinder heat transfer, making your refrigerator work harder. Regular cleaning can lead to more efficient operation, reducing energy consumption and lowering your electricity bills.
2. Enhanced Cooling Performance
Clean coils help maintain optimal cooling. This means your food stays fresher for longer, reducing spoilage and waste.
3. Extended Appliance Lifespan
By keeping your refrigerator coils clean, you support the longevity of your appliance. Less strain on the system translates to fewer repairs and a longer lifespan.
4. Easy Maintenance
Using tools like compressed air can simplify the cleaning process. This method allows you to reach tight spaces and effectively remove dust and debris.
5. Environmental Benefits
Increased energy efficiency not only saves you money but also reduces your carbon footprint. A well-maintained refrigerator is better for the planet.
Regularly cleaning your refrigerator coils is a simple yet effective step in home maintenance. This proactive measure can result in significant benefits for both your wallet and the environment.
Preparing to Clean Refrigerator Coils
Cleaning refrigerator coils is essential for maintaining efficiency. Before you start, focus on safety and gather the necessary tools. This preparation will make the cleaning process effective and straightforward.
Safety Considerations
Before you begin, ensure your safety by unplugging the refrigerator. This eliminates the risk of electric shock while working on the coils.
Wear Safety Gear: Use safety goggles and a dust mask. These items protect your eyes and lungs from dust and debris.
Secure the Area: Clear the area around the refrigerator. This reduces the risk of tripping over items and gives you space to work comfortably.
Avoid Sharp Objects: When cleaning, avoid using sharp tools that could damage the coils. This can lead to costly repairs.
Be Aware of Possible Dust: Dust accumulation can be significant. Use a vacuum with a HEPA filter to minimize dust spread in your home.
Gathering Necessary Tools
Having the right tools is crucial for an effective cleaning process. Start by gathering the following items:
- Coil Brush: This tool is specifically designed to reach between coils, making it efficient for removing dust.
- Air Compressor: Using an air compressor can blow away stubborn dust that a vacuum may miss.
- Shop Vac: A shop vac can quickly collect debris from the area, making cleanup easier.
- Compressed Air Cans: These are useful for reaching tight spots where larger tools cannot fit.
- Soft Cloths: Use these for wiping down areas around the coils after the dust has been removed.
Preparing properly means you can clean the coils safely and effectively. By focusing on safety and having the right tools, you ensure the process is smooth and beneficial for your refrigerator’s performance.
Step-by-Step Guide to Cleaning Coils with Compressed Air
Cleaning your refrigerator coils with compressed air can effectively remove dust and debris, enhancing your appliance’s efficiency. Follow these steps for optimal results.
Accessing the Coils
To begin, locate the coils on your refrigerator. They are usually found either at the back or beneath the appliance.
- Unplug the Refrigerator: Safety first. Disconnect the refrigerator from the power source to avoid any electrical hazards.
- Move the Refrigerator: If the coils are at the back, carefully pull the refrigerator away from the wall. If they’re underneath, ensure you have sufficient space to work.
- Check the Area: Look for any visible dust or debris near the coils. This can give you an idea of how much cleaning is needed.
Gather your cleaning materials, including a compressor and appropriate nozzle attachment, to effectively reach and clean those coils.
Compressed Air Cleaning Technique
Using compressed air can effectively blow out dust and dirt from the coils. Here’s how to do it properly:
- Attach the Nozzle: Connect the narrow nozzle to your compressor. This will help deliver focused air to tight spaces.
- Maintain Distance: Hold the nozzle about 6-12 inches from the coils. This distance prevents moisture from the air compressor from reaching the coils.
- Blow Out Dust: Turn on the compressor and direct the air towards the coils. Sweep from top to bottom to ensure all debris is removed. Move the nozzle along the length of the coil to dislodge any stubborn dust.
- Check Progress: Periodically inspect the coils to see how much dust has been dislodged. Repeat the process as necessary until the coils look clean.
- Wear Protective Gear: Utilize a dust mask to avoid inhaling particles that may become airborne during this process.
Post-Cleaning Steps
After cleaning, take a few additional actions to ensure your refrigerator functions efficiently:
- Inspect the Coils: Check that all dust and debris have been removed. If any particles remain, consider a second pass with the compressed air.
- Plug the Refrigerator Back In: Once satisfied with the cleaning, reconnect the refrigerator to the power source.
- Return the Appliance: Carefully push the refrigerator back into its original position. Ensure no cords or hoses are pinched.
- Set a Cleaning Schedule: Make a note to clean the coils every six months or more frequently if you have pets or high dust conditions.
Following these steps will help maintain your refrigerator and extend its lifespan by ensuring it operates efficiently.
Maintaining Your Refrigerator Post-Cleaning
After cleaning your refrigerator coils, it’s crucial to take steps to maintain its efficiency. Regular maintenance keeps your appliance running smoothly and prolongs its lifespan.
Check the Temperature Settings: Ensure your refrigerator is set between 35°F and 38°F. This range helps preserve food without overworking the compressor.
Clean Coils Regularly: Aim to clean the coils every six months. Use a vacuum or a can of compressed air to remove dust buildup, ensuring the appliance operates efficiently.
Inspect Door Seals: Examine the door seals for tears or gaps. Faulty seals can lead to energy waste. If damaged, replace them to improve efficiency.
Clear Space Around the Refrigerator: Maintain at least a few inches of space around your fridge. This promotes airflow and helps prevent overheating.
Monitor for Unusual Noises: If the refrigerator makes strange sounds or runs constantly, check for issues that might require attention. Early detection can prevent larger problems.
Schedule Regular Maintenance: Consider professional home maintenance services. These can include dryer vent cleaning or pressure washing, which help keep your home systems in top condition.
By implementing these practices, you ensure your refrigerator operates efficiently, ultimately saving you money on energy costs and extending its lifespan.
Understanding Warranty and Service Information
When considering using compressed air to clean refrigerator coils, it’s essential to understand your warranty conditions. Many manufacturers require that maintenance be performed according to specific guidelines.
Key Points to Remember:
- Warranty Coverage: Check if using compressed air to clean coils affects your warranty. Some warranties may become void if improper cleaning methods are used.
- Service Information: Refer to your refrigerator’s manual for recommended maintenance practices. This can include details on cleaning methods and any necessary precautions.
- Privacy Policy: When you consult service providers for advice or assistance, review their privacy policy. Understand how they will handle your personal information.
Considerations for Maintenance:
- Use Certified Technicians: If you’re uncertain, hiring professionals who understand warranty requirements can prevent issues.
- Scheduled Services: Regular preventive maintenance from services like Totally Maintained can help extend the lifespan of your appliance.
- Links for Further Information: Make use of manufacturer websites and trusted service providers for more detailed service guidelines.
Maintaining your refrigerator properly not only keeps it running efficiently but also ensures your warranty remains intact.
Frequently Asked Questions
When cleaning refrigerator coils, various methods and tools can be used effectively. Understanding safety precautions and the location of the condenser coils can help ensure the job is done correctly and efficiently.
What is the best method to clean refrigerator coils?
The best method typically involves using a vacuum cleaner with a brush attachment or compressed air. Air compressors are particularly effective because they can blow dust and debris out of tight spaces. For optimal cleanliness, ensure the refrigerator is unplugged before cleaning.
Is it safe to use a vacuum to clean fridge coils?
Yes, using a vacuum to clean fridge coils is safe as long as you use the appropriate attachments. A brush attachment can aid in removing dust without damaging the coils. Avoid using a vacuum with a direct hose attachment, as this may cause harm.
Where can I find the condenser coils on my refrigerator?
Condenser coils are usually located at the back or bottom of the refrigerator. If you have trouble locating them, consult your appliance’s user manual for specific guidance. Checking behind or underneath the unit will often reveal the coils.
What alternatives are there to using a brush for cleaning refrigerator coils?
If a brush isn’t available, you can use compressed air or a microfiber cloth to clean the coils. Compressed air is effective in blowing away dirt that is hard to reach, while a cloth can help wipe down accessible areas.
What precautions should be taken when cleaning a refrigerator compressor?
Before beginning, unplug the refrigerator to ensure safety. Wear gloves to protect your hands from sharp edges. Be cautious not to damage any components while cleaning the compressor area, as this can lead to ineffective operation.
Can homemade cleaners be effective for refrigerator coil maintenance?
Homemade cleaners can be effective for regular maintenance but should be used cautiously. A simple solution of vinegar and water may help remove grime. Always wipe off any residue with a damp cloth to avoid attracting more dirt.