Energy-efficient home maintenance is essential for ensuring that your living space remains comfortable and cost-effective. By focusing on preventive care, you can extend the lifespan of your home’s systems and appliances while significantly reducing energy costs. Regular maintenance tasks such as dryer vent cleaning, window cleaning, and pressure washing can have a profound impact on your home’s overall efficiency.
With a comprehensive approach to home care, you can schedule multiple maintenance services in a single visit. This not only saves time but also ensures that all aspects of home upkeep are addressed effectively. Prioritizing energy savings through these maintenance routines allows you to maintain a healthy home environment while protecting your investment.
Embracing energy-efficient home maintenance practices leads to long-term benefits. By investing in services that prioritize preventive maintenance, you position yourself to maximize comfort and savings within your home. Explore the various ways you can enhance your home’s efficiency today and enjoy the rewards for years to come.
Assessing Your Home’s Energy Efficiency
To ensure your home is energy-efficient, you need to evaluate its current performance. This involves understanding where energy is consumed and identifying areas that may lead to waste. An energy audit, along with checking for common leaks, can provide you with a clear picture of your home’s efficiency.
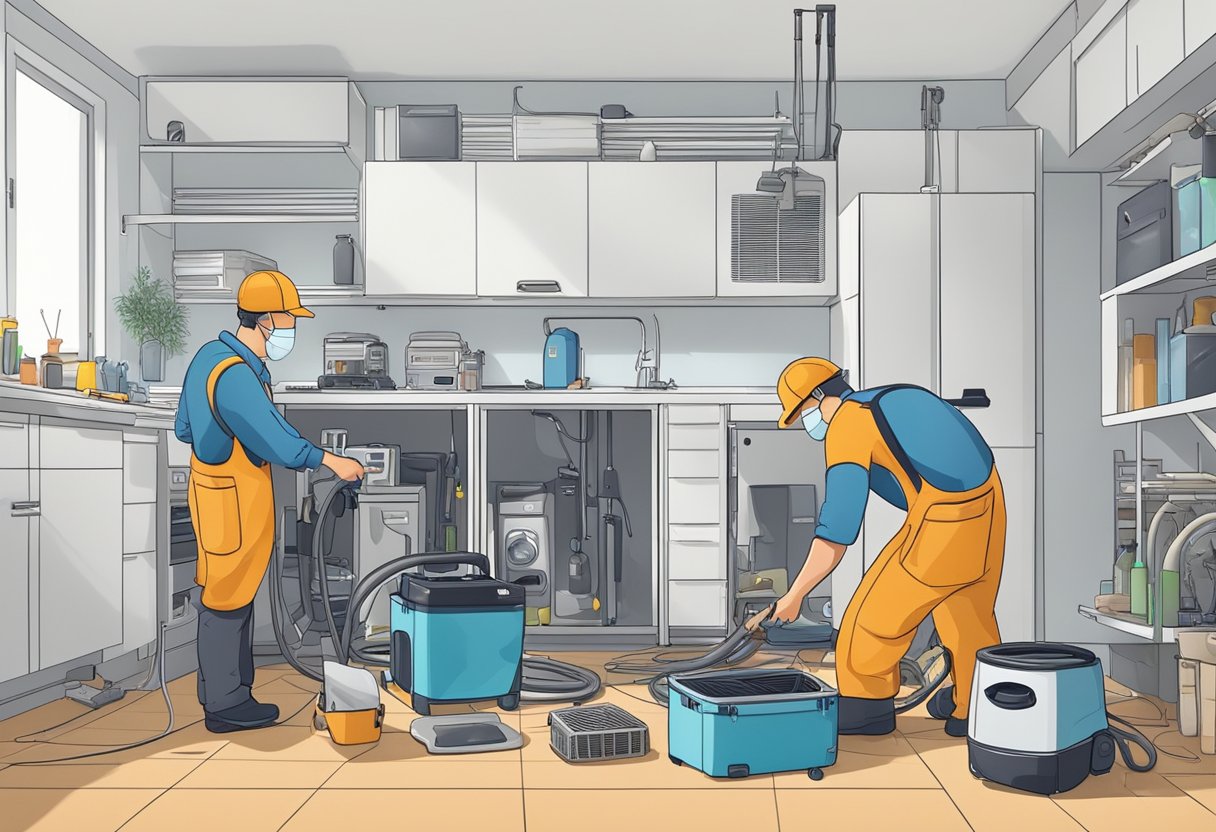
Conducting an Energy Audit
An energy audit is a thorough assessment of your home’s energy use. It analyzes how much energy your home consumes and identifies key areas for improvement. During this process, a professional or a qualified homeowner will evaluate insulation, heating, cooling systems, and appliances.
Using specialized tools, such as blower doors and infrared cameras, the auditor can detect drafts and inefficiencies in your home’s structure. This audit usually culminates in a detailed report outlining specific recommendations for improvements and estimated costs to implement these changes. Implementing suggestions from the audit can lead to significant savings on energy bills.
Identifying Common Energy Leaks
Your home may lose energy through common areas that often go unnoticed. Identifying these leaks can drastically improve efficiency. Look for drafts around windows, doors, and vents. These spots can allow conditioned air to escape, forcing your heating or cooling systems to work harder.
Aside from visual inspections, apply the “hand test” by feeling for drafts on windy days. Check electrical outlets and switch plates as they can also be sources of leaks. Seal these gaps with weatherstripping or caulk to enhance your home’s performance. Addressing these issues not only reduces energy waste but increases comfort in your living space as well.
Improving Insulation and Sealing
Enhancing your home’s insulation and sealing can significantly improve energy efficiency and comfort. This section delves into practical choices for insulation, the advantages of air sealing, and methods to prevent heat loss through windows and doors.
Choosing the Right Insulation
When selecting insulation, consider factors such as R-value, material type, and installation method. The R-value indicates insulation’s resistance to heat flow; higher values mean better insulation. Common materials include fiberglass, foam board, and spray foam.
Fiberglass batts are popular for attics and walls but can be challenging to install in tight spaces. Foam board provides high R-values in thinner sections, ideal for basements. Spray foam expands on application, sealing gaps and optimizing energy efficiency. Whichever option you choose, ensure proper installation for maximum effectiveness.
Benefits of Air Sealing
Air sealing is crucial in maintaining a comfortable indoor environment. By sealing gaps and cracks, you minimize drafts and improve energy efficiency. Key areas to focus on include attics, crawl spaces, and around windows and doors.
Using materials like caulk and weather stripping can effectively close gaps. This preventive measure not only helps reduce energy bills but also enhances indoor air quality by limiting the entry of outside pollutants. Investing time in air sealing can lead to significant savings on heating and cooling costs in the long run.
Preventing Heat Loss Through Windows and Doors
Windows and doors are common culprits for heat loss. Upgrading to energy-efficient models or applying weather stripping can make a noticeable difference. Weather stripping is a simple and cost-effective way to seal gaps around movable parts like doors and windows.
You can also consider storm windows for added insulation. These act as a barrier against drafts while allowing natural light into your home. Regularly check seals and frames for wear and replace them as necessary to maintain effectiveness. Properly sealing these areas can lead to a more comfortable living space and lower energy expenses.
Heating, Cooling, and Ventilation Systems
Effective heating, cooling, and ventilation systems are essential for maintaining comfort in your home while managing energy costs. Proper maintenance and the use of efficient equipment can significantly reduce energy consumption and enhance overall performance.
Optimizing HVAC Performance
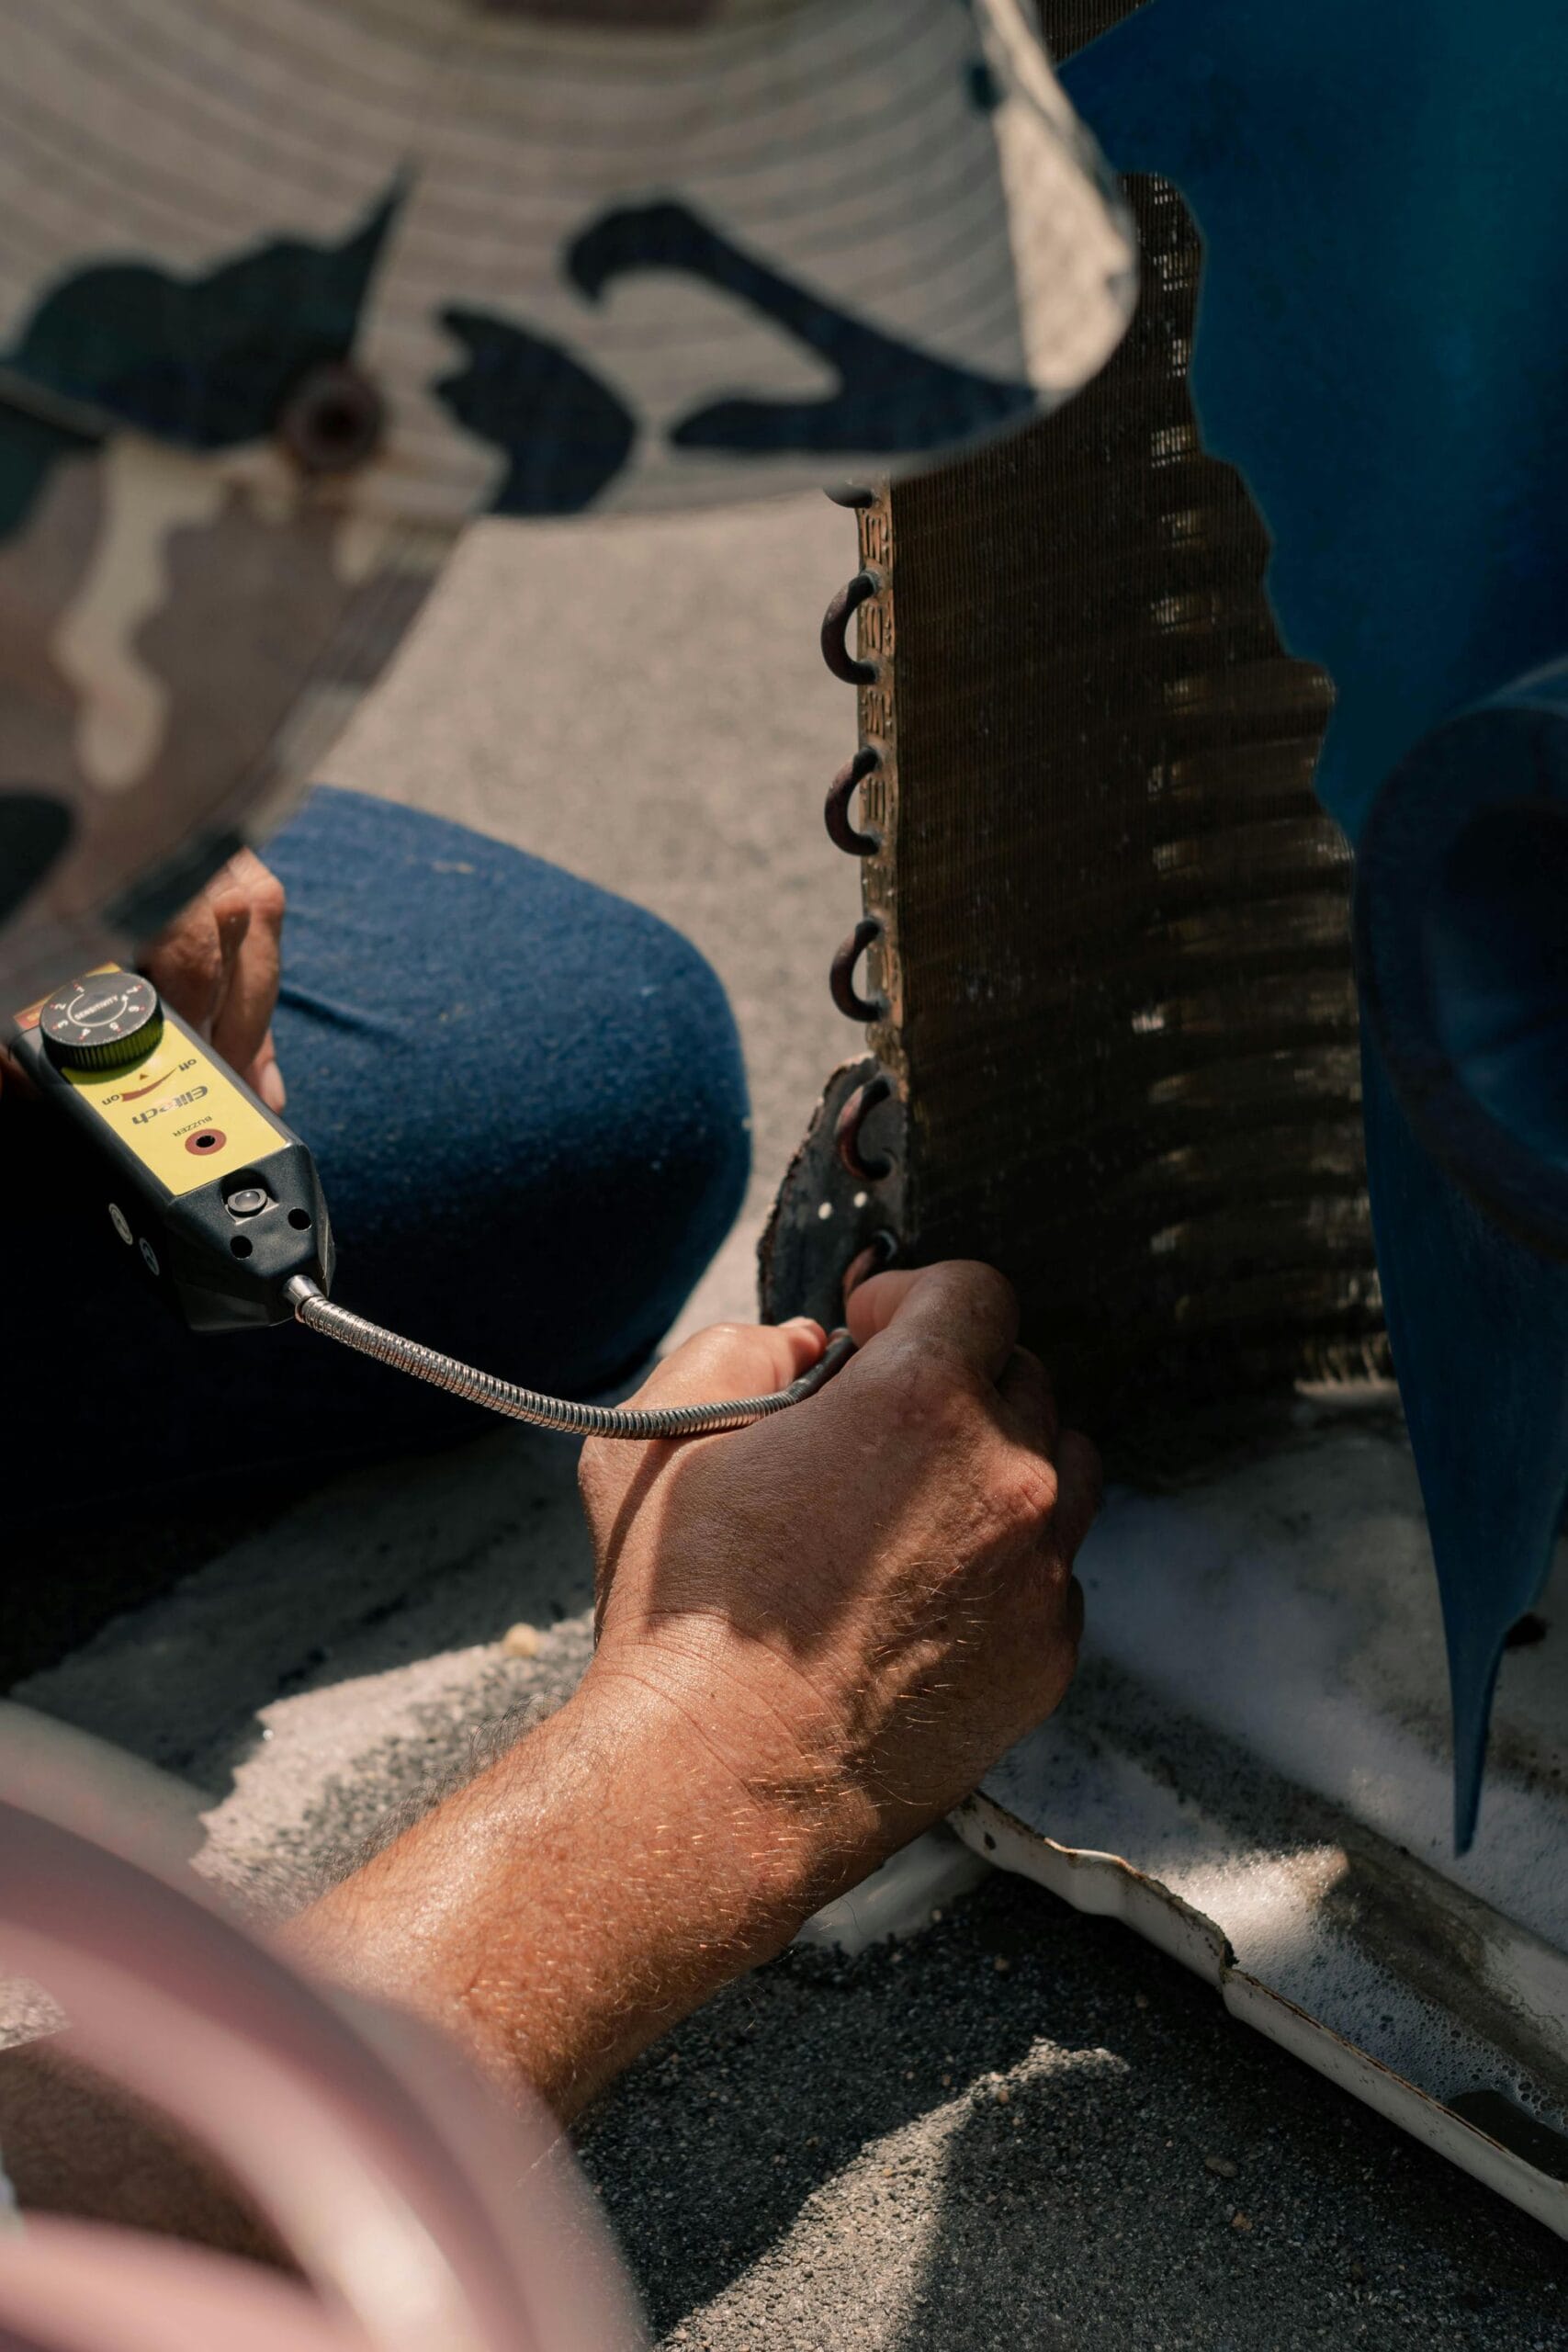
To optimize your HVAC system’s performance, you should conduct regular maintenance checks. Start with changing air filters every 1-3 months to ensure proper airflow. A clean filter also improves the efficiency of your system.
Scheduling annual tune-ups with professionals can identify potential issues before they become costly repairs. They’ll assess the system, check refrigerant levels, and clean coils. You might also consider installing a smart thermostat that adjusts based on your schedule, ensuring that you save energy when you’re not home.
Choosing Efficient Heating and Cooling Equipment
When selecting heating and cooling equipment, prioritize energy-efficient models. Look for units with the Energy Star label, which indicates adherence to energy efficiency guidelines. This can greatly reduce your energy costs.
Consider all options, including heat pumps, which can heat and cool your home efficiently. Additionally, ensure that systems are properly sized for your space. An oversized or undersized unit can lead to increased energy consumption and discomfort.
The Role of Ventilation in Energy Conservation
Proper ventilation is crucial for maintaining indoor air quality and energy conservation. By ensuring good airflow, you can lower energy costs associated with heating and cooling.
Investing in energy recovery ventilators allows for efficient exchange of air without losing temperature. This can help mitigate unwanted heat loss in winter and heat gain in summer. Regularly inspect and clean vents to avoid blockages that impair airflow and force your HVAC system to work harder than necessary.
Implementing effective ventilation strategies, alongside heating and cooling maintenance, enhances energy efficiency, resulting in lower utility bills.
Utilizing Smart Home Technology
Integrating smart home technology can significantly enhance energy efficiency in your home. By automating and optimizing your energy usage, you can reduce consumption and save on utility bills.
Installing a Smart Thermostat
A smart thermostat is a powerful tool for managing your home’s temperature efficiently. Unlike traditional thermostats, smart models can learn your preferences and adjust settings based on your daily routines.
Key features include remote access via smartphone apps, which allows you to monitor and manage your energy usage from anywhere. For example, you can lower the temperature when you’re away or optimize settings to ensure comfort during your return.
Some models also provide insights into your energy consumption patterns. This data helps you make informed decisions about heating and cooling, reducing unnecessary energy expenditure. Investing in a smart thermostat can lead to an annual savings of up to 10-15% on heating and cooling costs.
Energy Management with Smart Appliances
Smart appliances are designed to enhance energy efficiency by optimizing their performance based on your usage patterns. Examples include smart refrigerators, washing machines, and dishwashers that communicate with each other and respond to your commands.
Many smart appliances can minimize energy usage by running during off-peak hours when electricity rates are lower. For instance, your smart washer can be scheduled to operate at night, saving you money and helping reduce demand on the electrical grid.
Moreover, these devices often provide real-time usage data, helping you identify high-energy-consuming appliances. This transparency allows you to adjust usage habits, further contributing to energy savings. By incorporating smart appliances, you can achieve significant reductions in your energy bills while benefiting from enhanced functionality.
Renewable Energy and High-Efficiency Solutions
Utilizing renewable energy sources and high-efficiency systems is an impactful way to enhance your home’s energy performance. By focusing on options like solar energy and heat pumps, you can significantly lower utility costs and increase overall comfort in your living space.
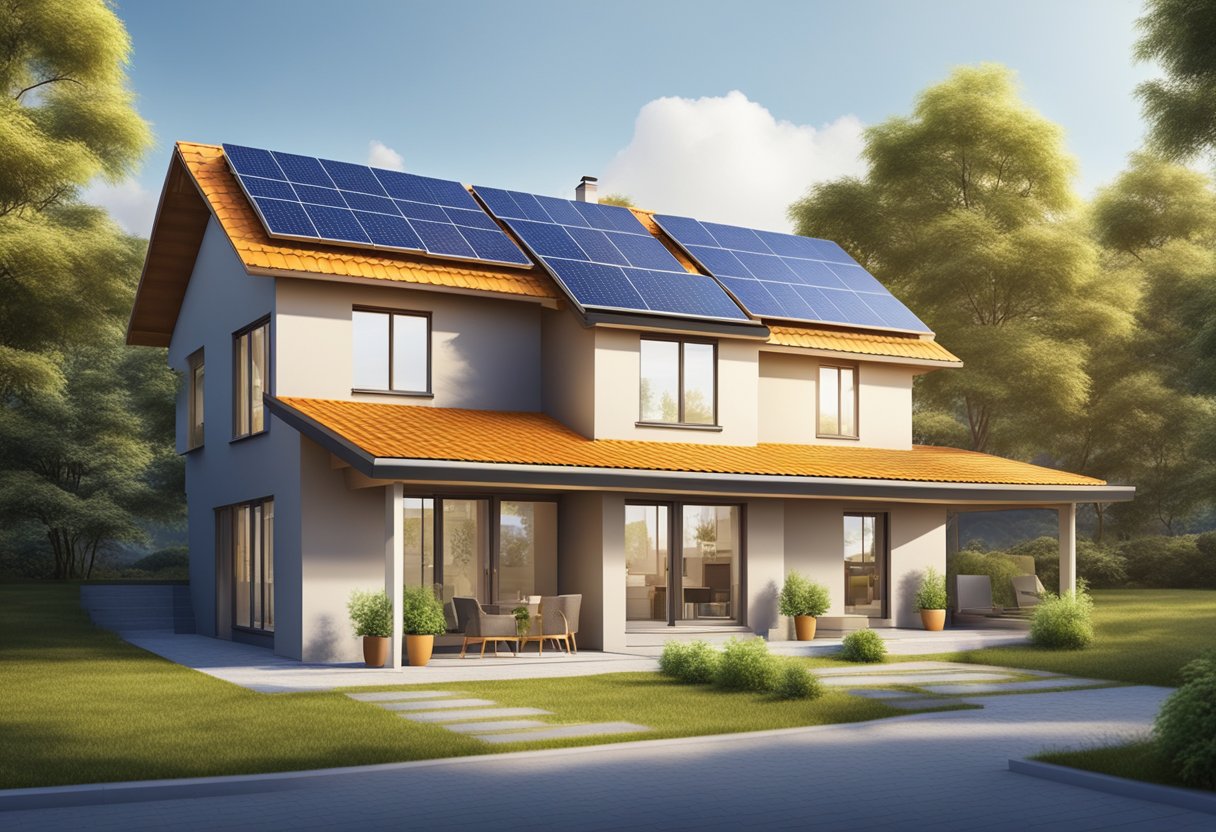
Incorporating Solar Energy
Incorporating solar energy into your home can provide substantial benefits. Solar panels capture sunlight and convert it into electricity, reducing your reliance on grid power.
Key benefits include:
- Cost Savings: You can save significantly on electricity bills.
- Tax Incentives: Various credits like the Energy Efficient Home Improvement Credit may help offset initial costs.
- Sustainability: Reduce your carbon footprint and promote ecological benefits.
Most solar energy systems have become more affordable and efficient in recent years. Homeowners can choose from grid-tied systems, which provide more energy efficiency, or off-grid systems for complete energy independence. Moreover, adding battery storage allows you to store excess energy for nighttime use, making the system even more beneficial.
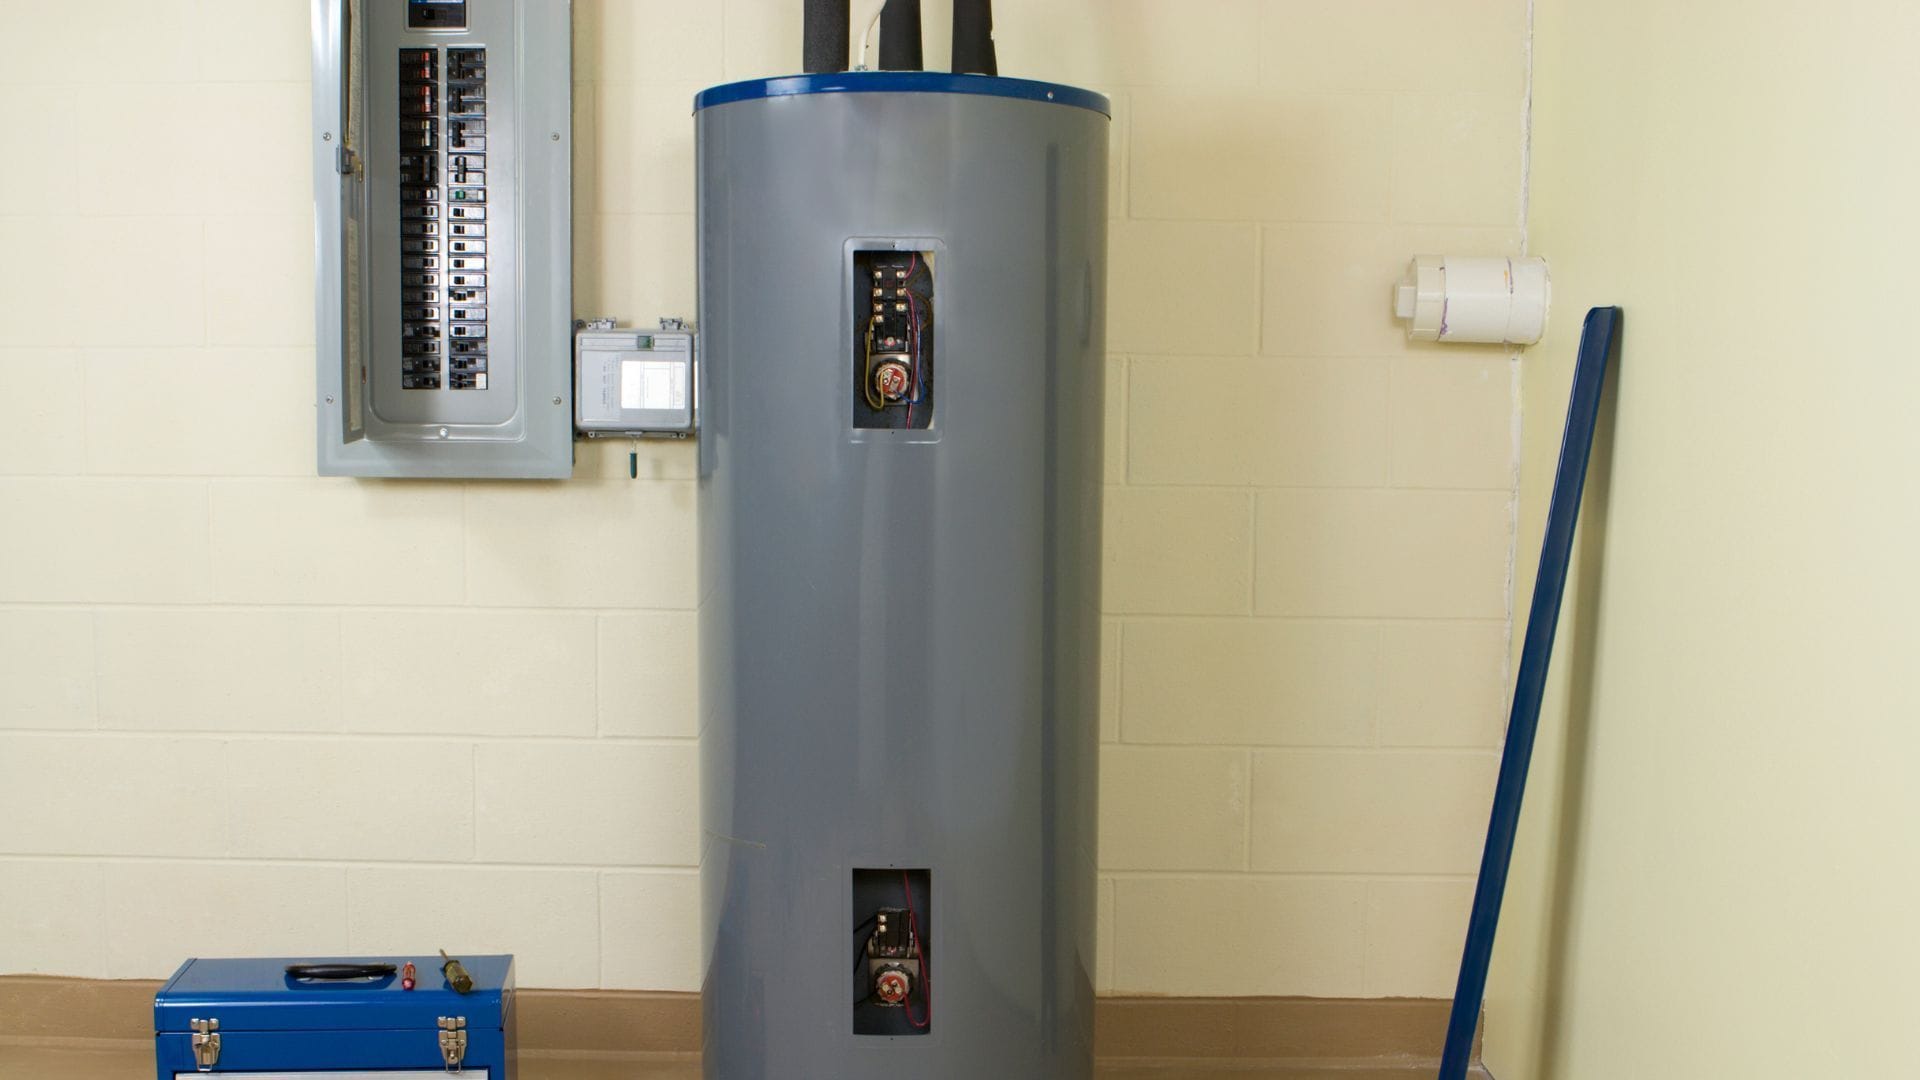
Heat Pumps and Heat Pump Water Heaters
Heat pumps offer an efficient heating and cooling solution. They work by transferring heat rather than generating it, providing cost-effective climate control in your home.
Considerations for heat pumps:
- Energy Efficiency: Heat pumps can provide heating at a quarter of the cost of traditional heating systems.
- Dual Functionality: Most systems can be reversed during summer months to function as air conditioners.
- Environmentally Friendly: They emit fewer greenhouse gases compared to conventional systems.
Heat pump water heaters also utilize similar technology to heat water efficiently. They extract heat from the air, making them significantly more efficient than traditional electric water heaters. With proper installation and maintenance, these systems can provide substantial savings and excellent performance throughout the year.
Maintenance and Upkeep for Long-Term Savings
Effective maintenance is essential for your home’s longevity and energy efficiency. Regular upkeep not only enhances curb appeal but also contributes to significant savings on your utility bills over time. Here’s how you can achieve these goals.
Regular HVAC Maintenance
Keeping your heating, ventilation, and air conditioning (HVAC) systems in top shape is vital for energy efficiency. Schedule regular check-ups to clean or replace filters every 1-3 months. This practice prevents strain on your system and reduces energy consumption, lowering your heating bills.
Also, ensure that ducts are sealed and insulated properly to prevent energy loss. A well-maintained HVAC system can operate efficiently, allowing you to maximize your energy savings. Don’t forget about annual inspections to catch any potential issues early, saving you money on costly repairs in the future.
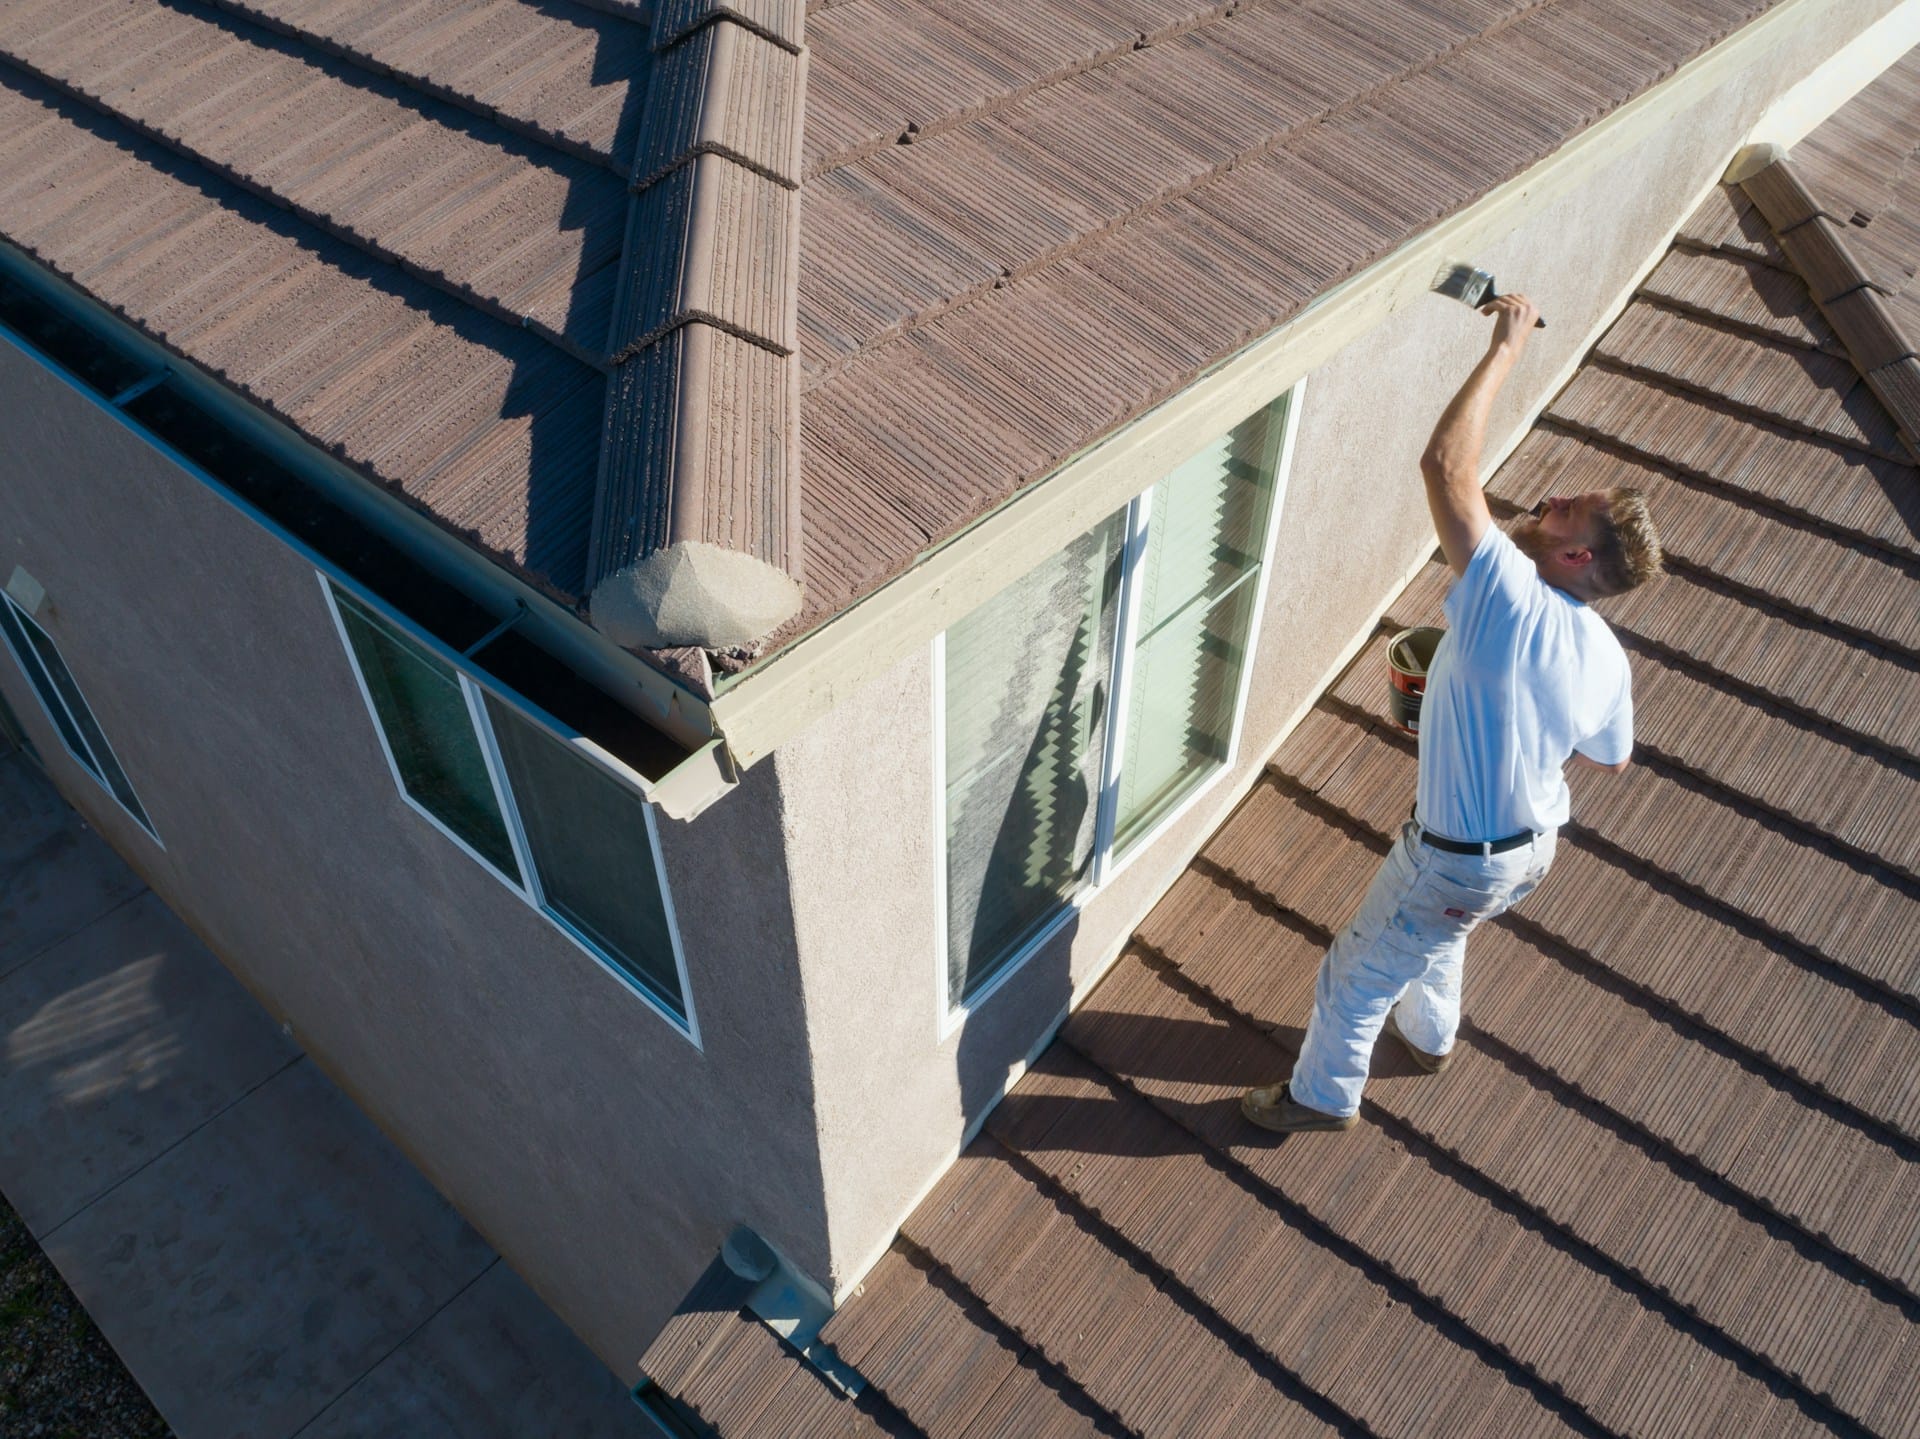
Addressing Exterior Maintenance
The exterior of your home plays a significant role in energy efficiency and appearance. Regularly check for and replace any damaged caulk around windows and doors to minimize drafts. This simple step helps in maintaining your home’s insulation and reduces utility expenses.
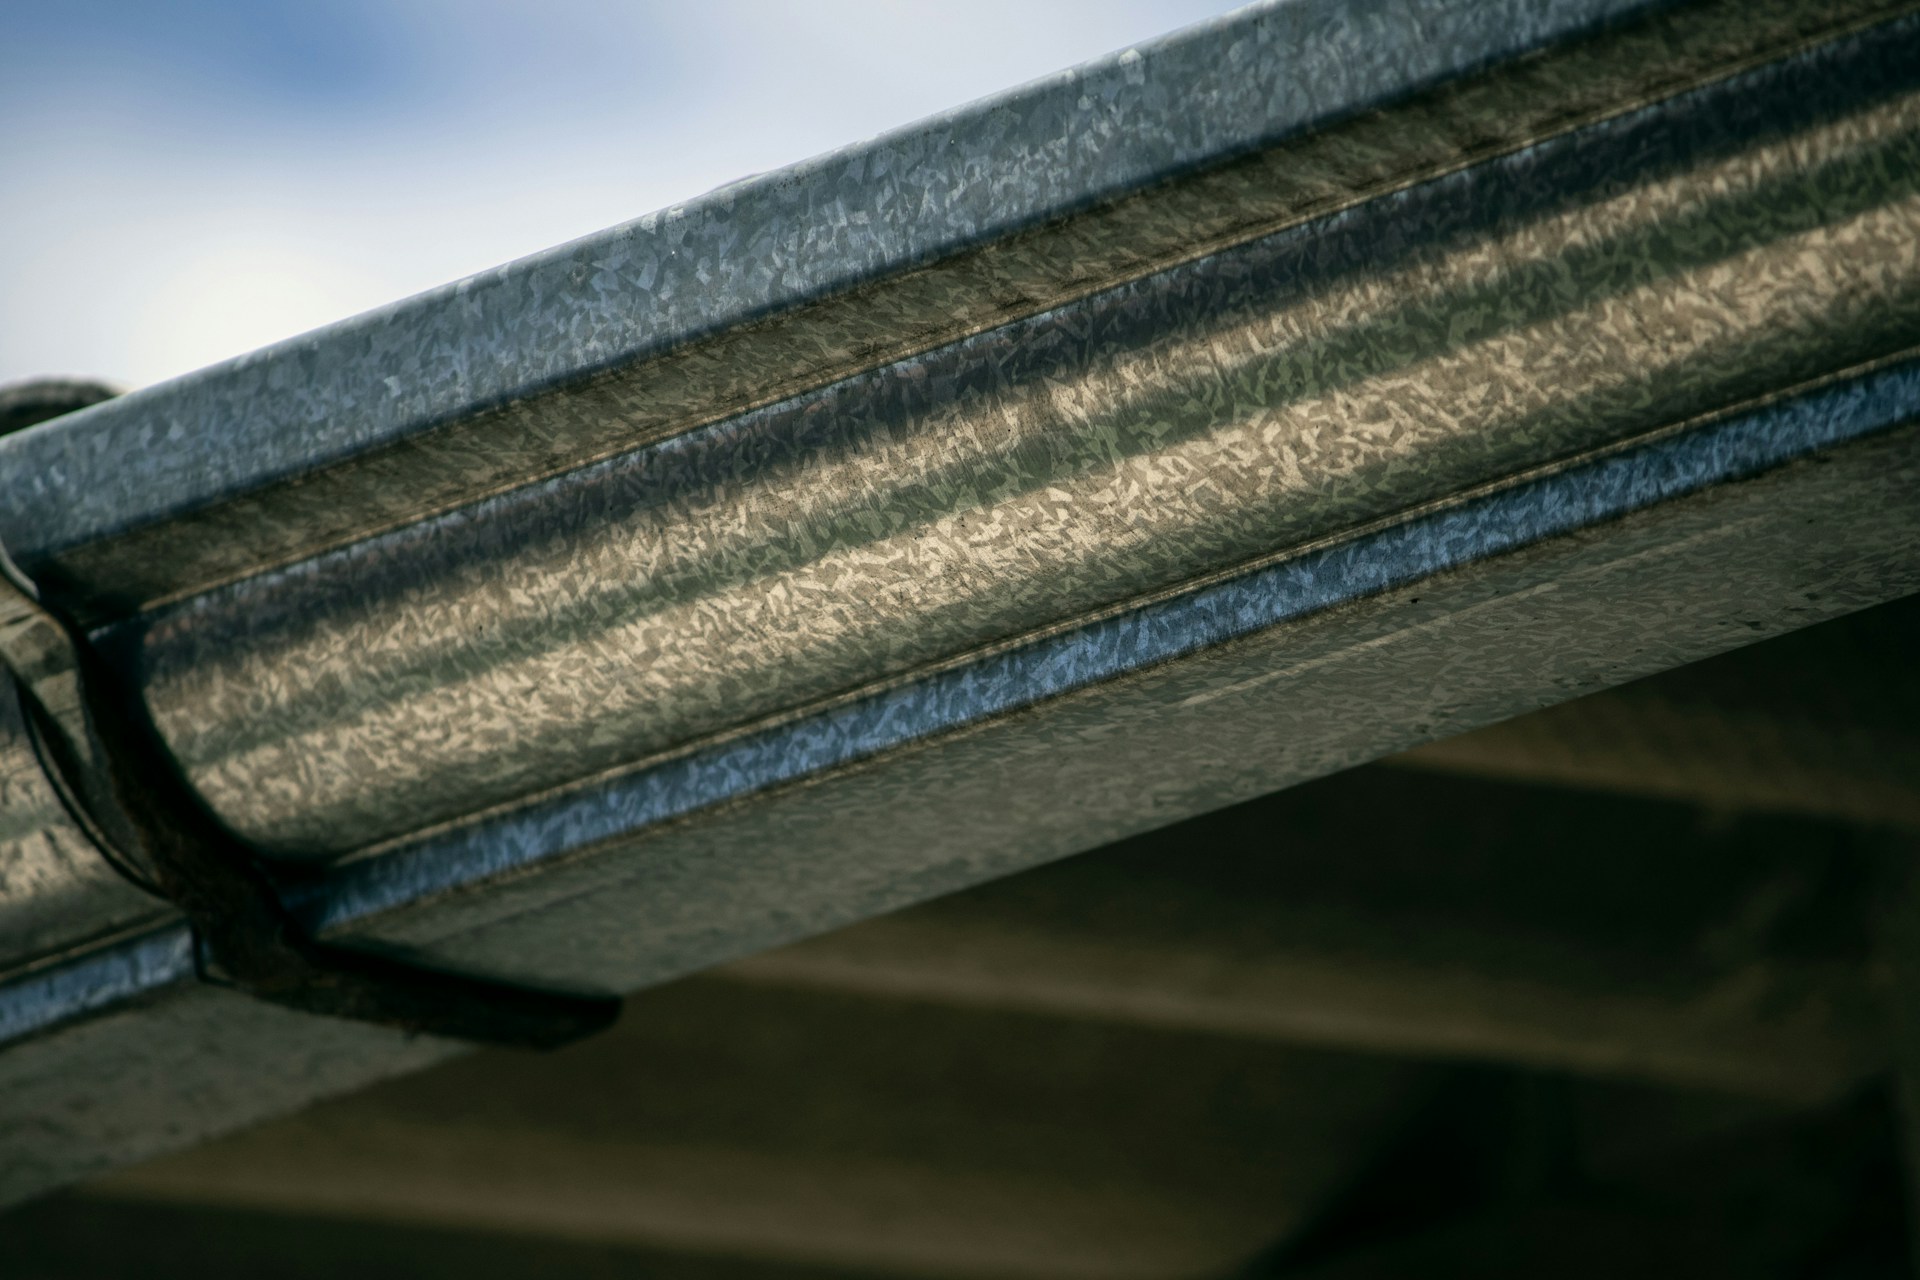
Moreover, consider pressure washing your home and keeping gutters clear of debris. A clean exterior not only enhances curb appeal but also prevents long-term damage from moisture buildup. Maintaining outdoor areas, such as sidewalks and patios, can also prevent hazards and ensure longevity.
Cold Weather and Preventing Ice Dams
During cold weather, it’s crucial to ensure your home is protected from ice dams. Use insulation to reduce heat loss from your roof, which helps avoid melting snow that can refreeze and form ice dams. Proper ventilation in the attic is essential for this.
Additionally, regularly check and clear your gutters to facilitate proper drainage. If ice dams do form, consider professional help to remove them safely, preventing potential roof damage. You may also want to have a fire extinguisher on hand for safety, especially during winter months.
Frequently Asked Questions
When considering energy-efficient home maintenance, you may have specific queries regarding qualifications, improvements, and available programs. The following sections address common questions to help you navigate the options for enhancing your home’s efficiency.
What qualifies for the energy-efficient home improvement credit?
To qualify for the energy-efficient home improvement credit, you can claim expenses for selecting energy-efficient windows, doors, and roofing. Additionally, qualified heating and cooling systems, as well as insulation upgrades, may also be eligible under this credit.
How can I make my house more energy-efficient?
You can improve your home’s energy efficiency by investing in LED lighting, programmable thermostats, and energy-efficient appliances. Sealing gaps and adding insulation can significantly reduce heating and cooling costs.
Does California offer a free window replacement program for energy efficiency?
Yes, California offers programs aimed at improving energy efficiency, which may include free or subsidized window replacement. These initiatives typically target low-income households to help reduce energy expenses.
What home improvements are covered under the ENERGY STAR tax credit?
The ENERGY STAR tax credit covers specific home improvements such as energy-efficient HVAC systems, insulation, and certain types of eco-friendly windows and doors. By using qualified products, you may benefit from tax credits as an incentive for upgrading.
How does a home energy audit benefit my energy efficiency efforts?
A home energy audit helps identify areas where your home loses energy. By pinpointing leaks and inefficiencies, you can make informed decisions about where to focus your improvements, leading to better energy savings.
Are there any grants available for energy-efficient home improvements?
Yes, various grants may be available to assist with energy-efficient home improvements. These grants are often funded by government entities or local organizations aimed at promoting energy savings among homeowners.