When it comes to homeownership, understanding the average cost of maintaining a home is essential for effective budgeting and planning. The typical annual home maintenance expenses range from $950 to $22,000, depending on factors such as location, size, and age of the property. Being aware of these costs helps you prepare for regular upkeep, ensuring your home remains in good condition.
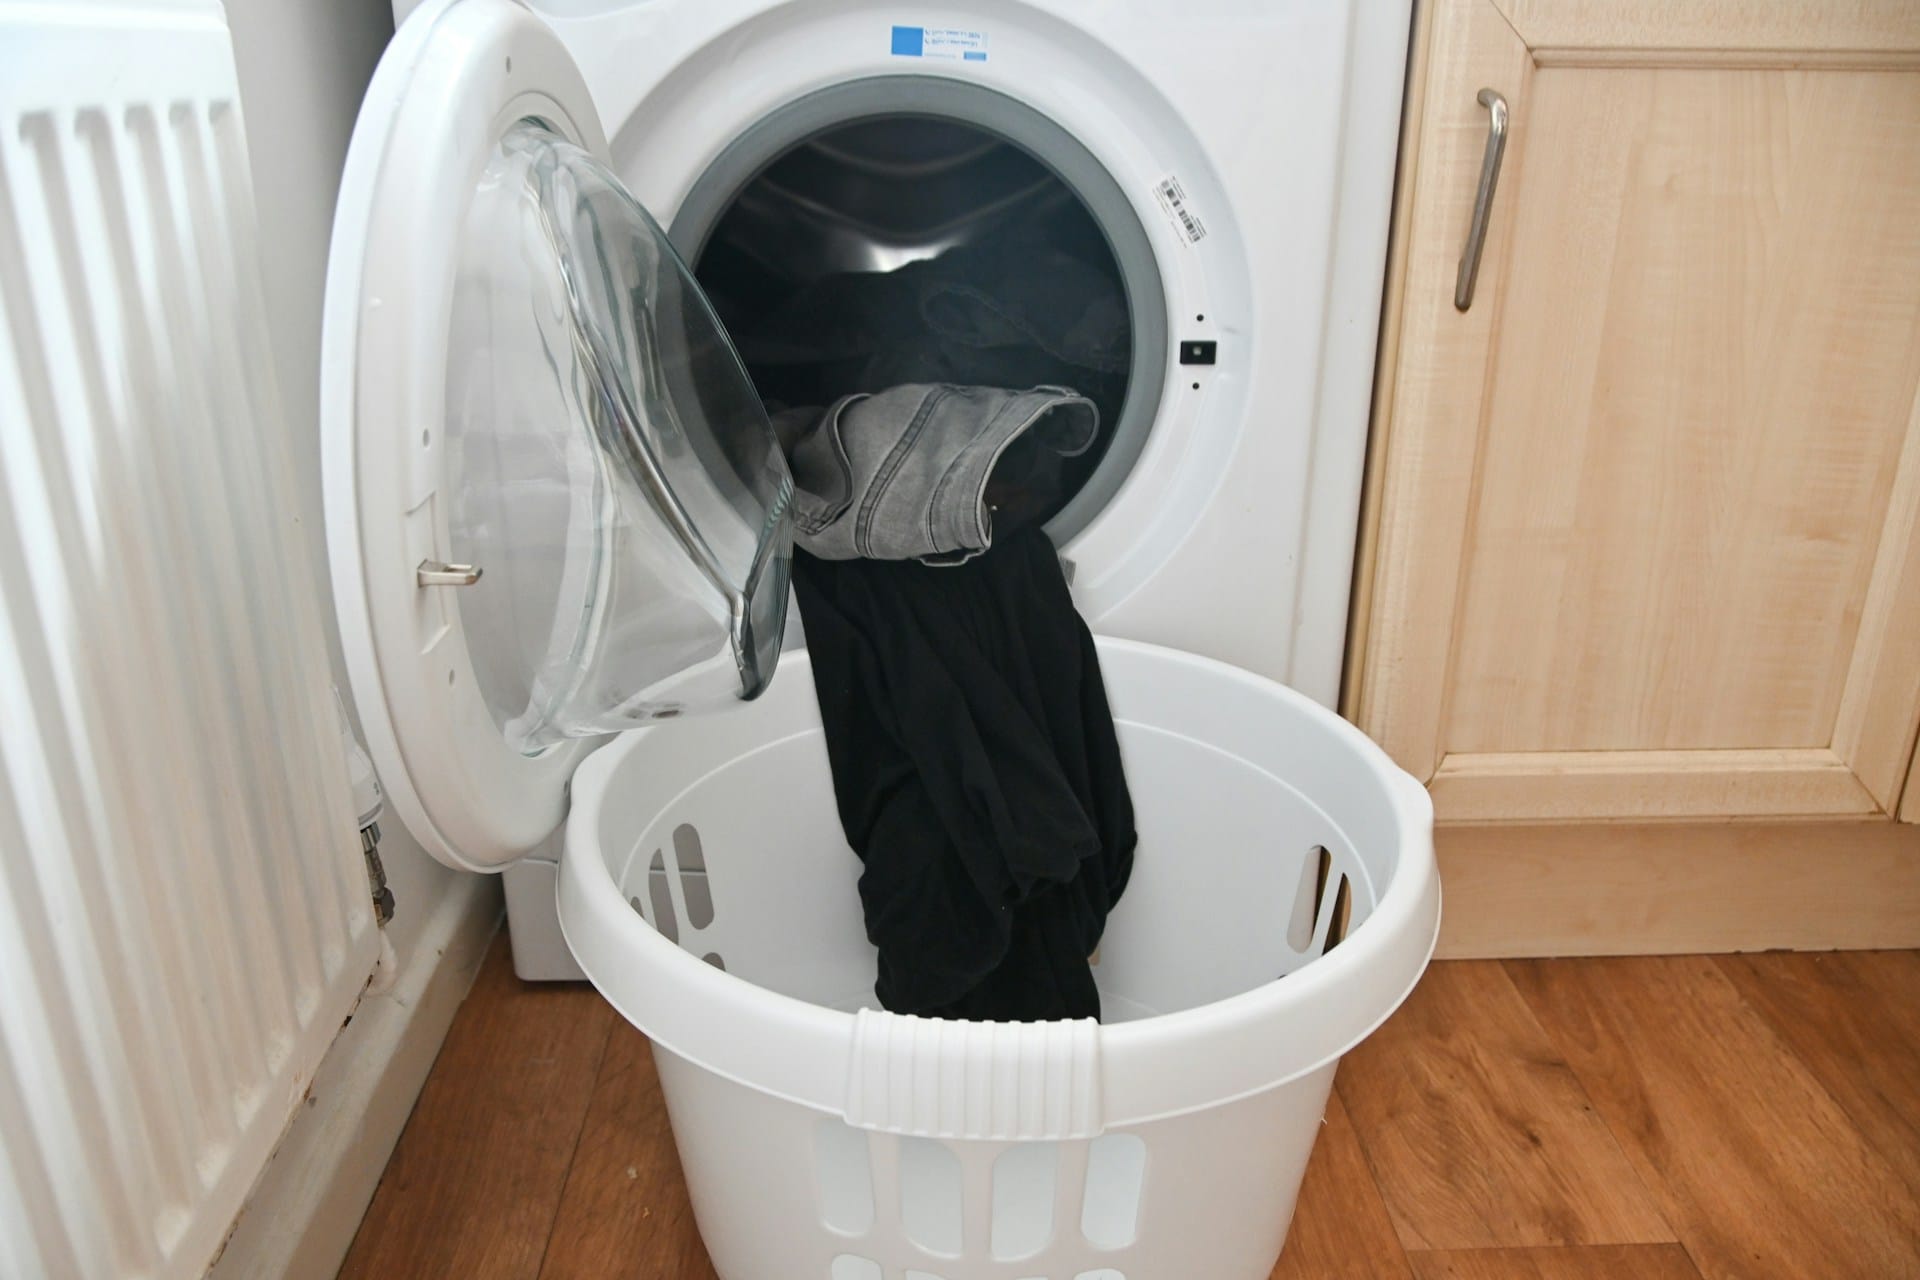
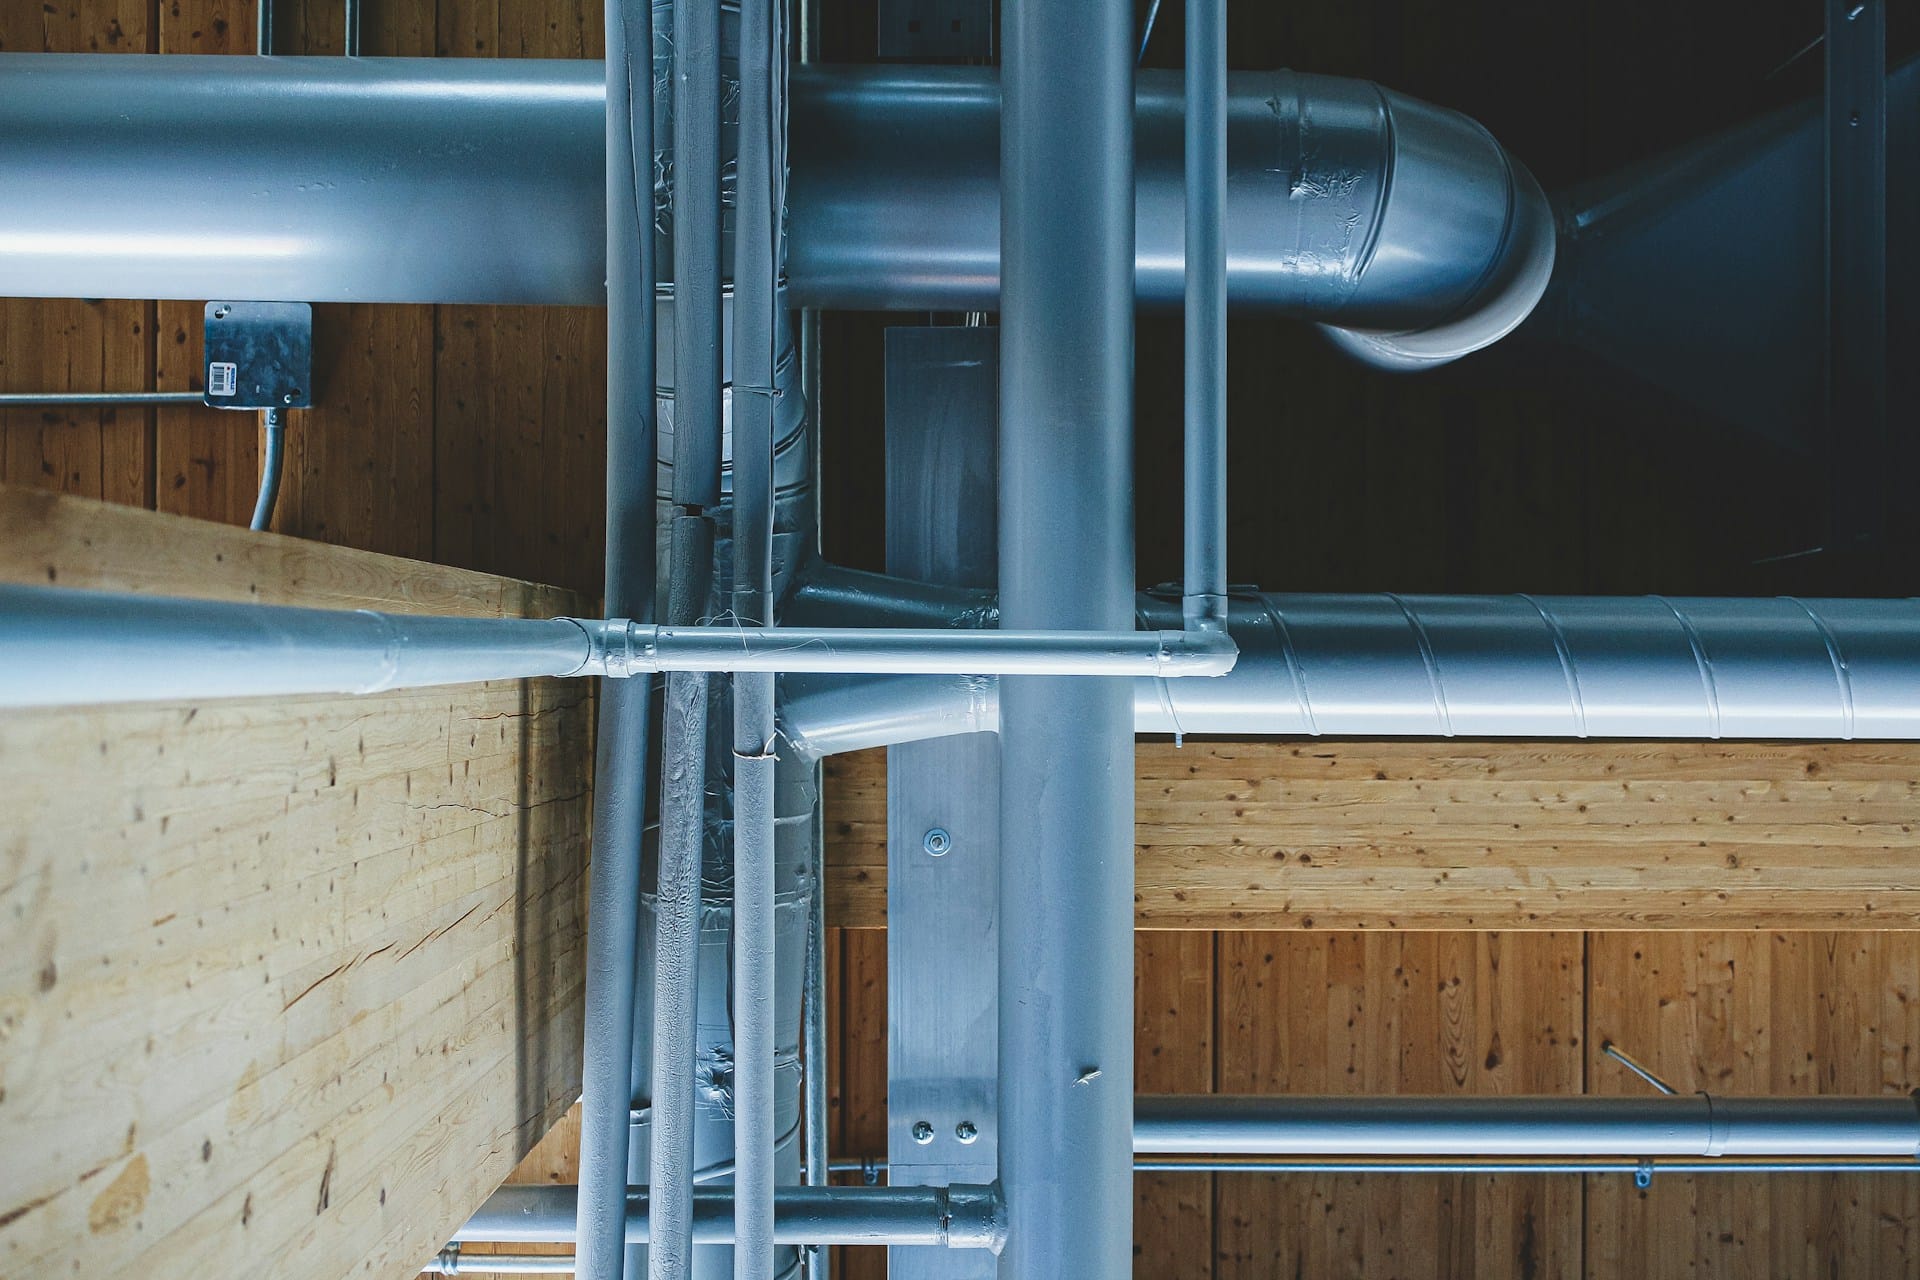
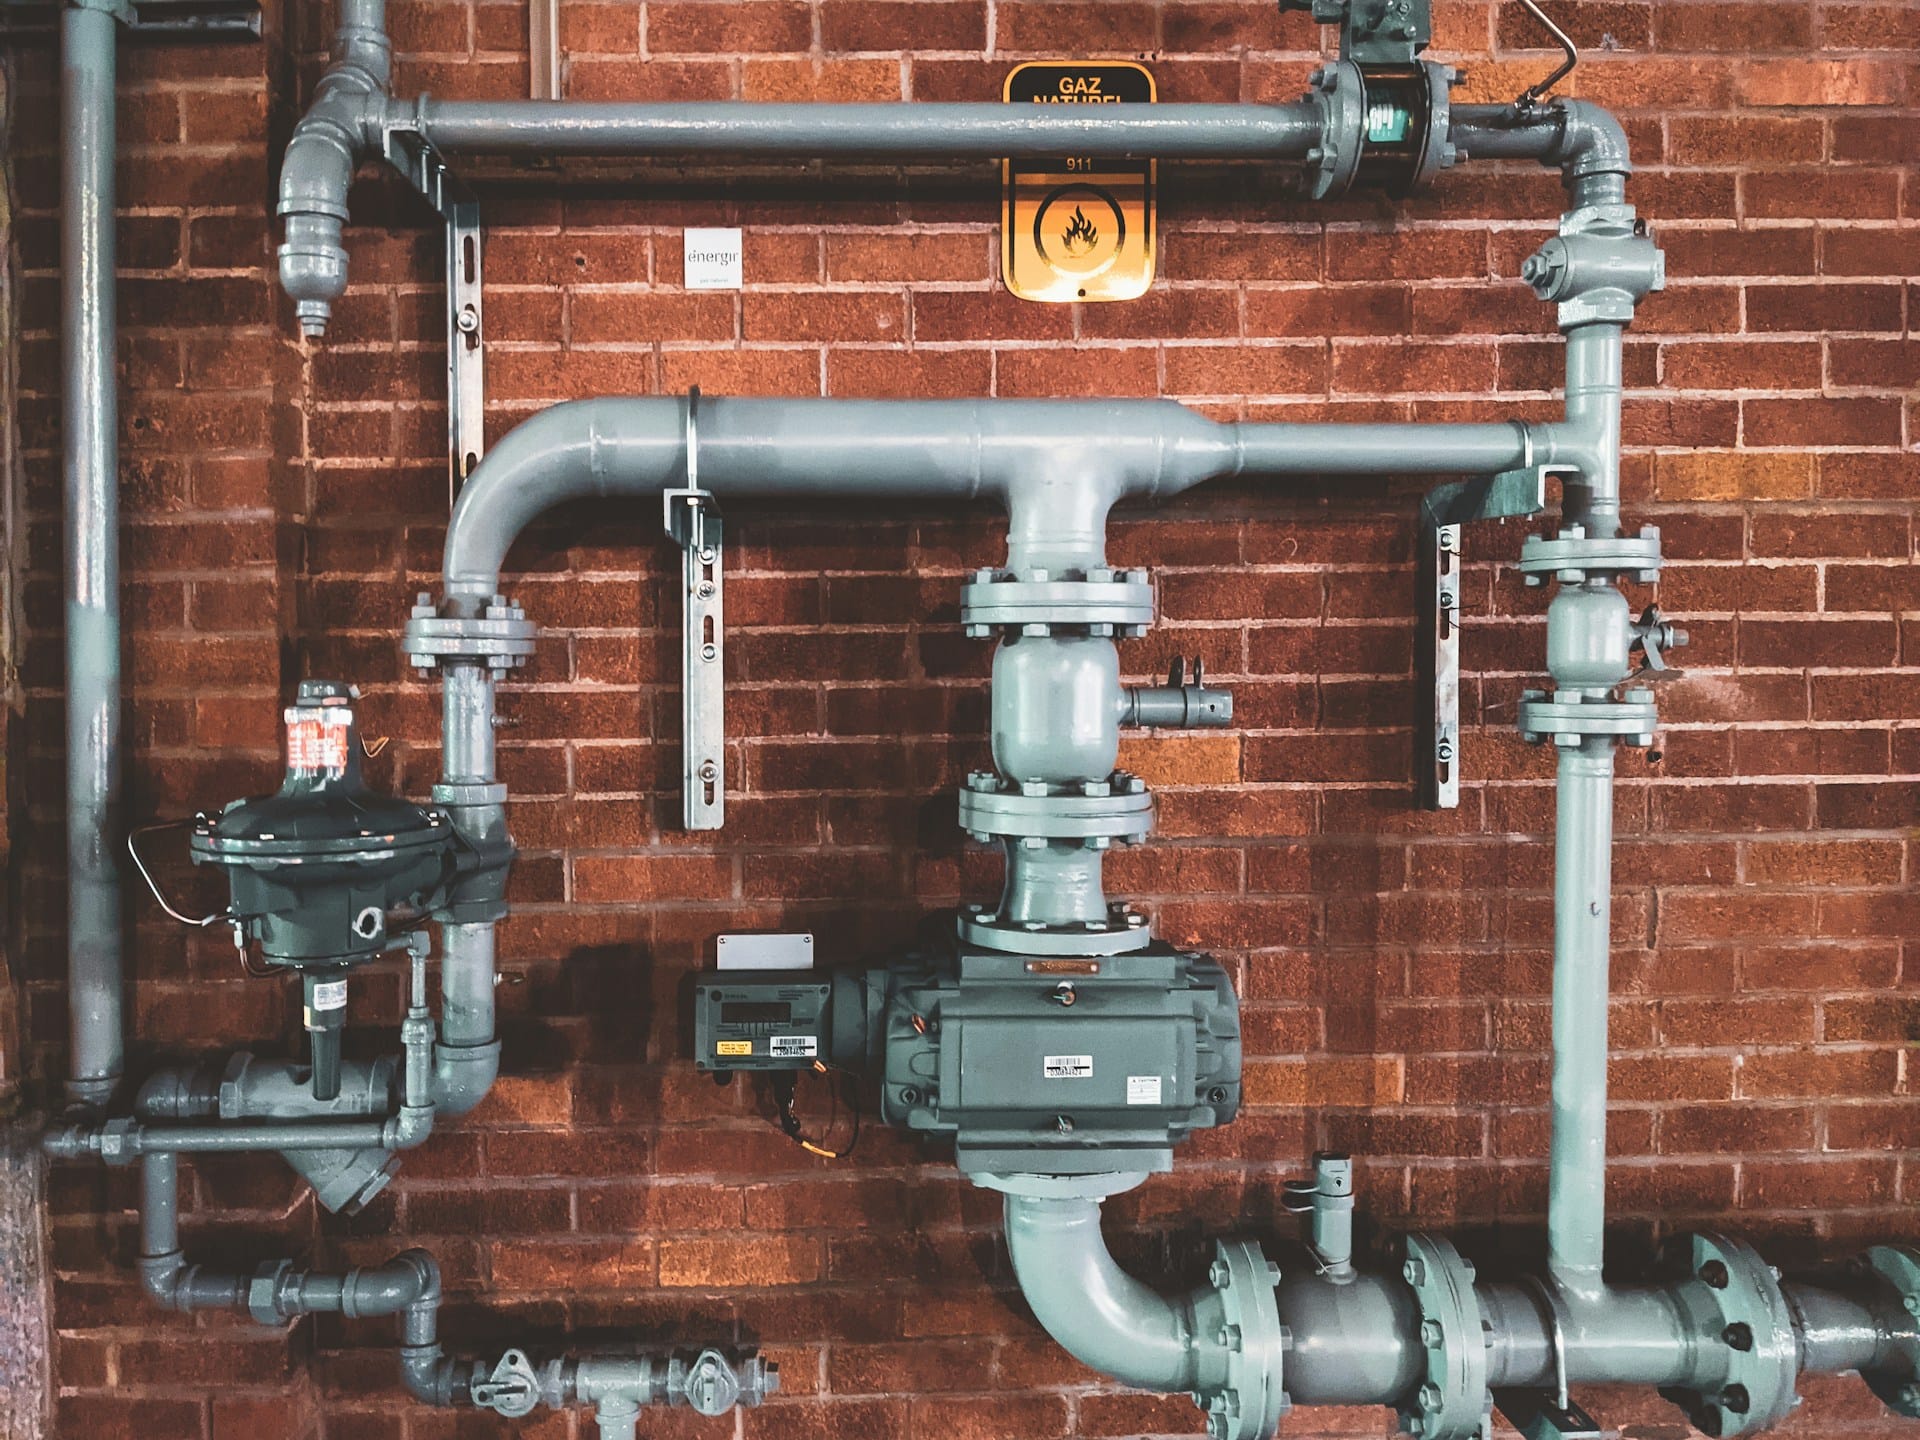
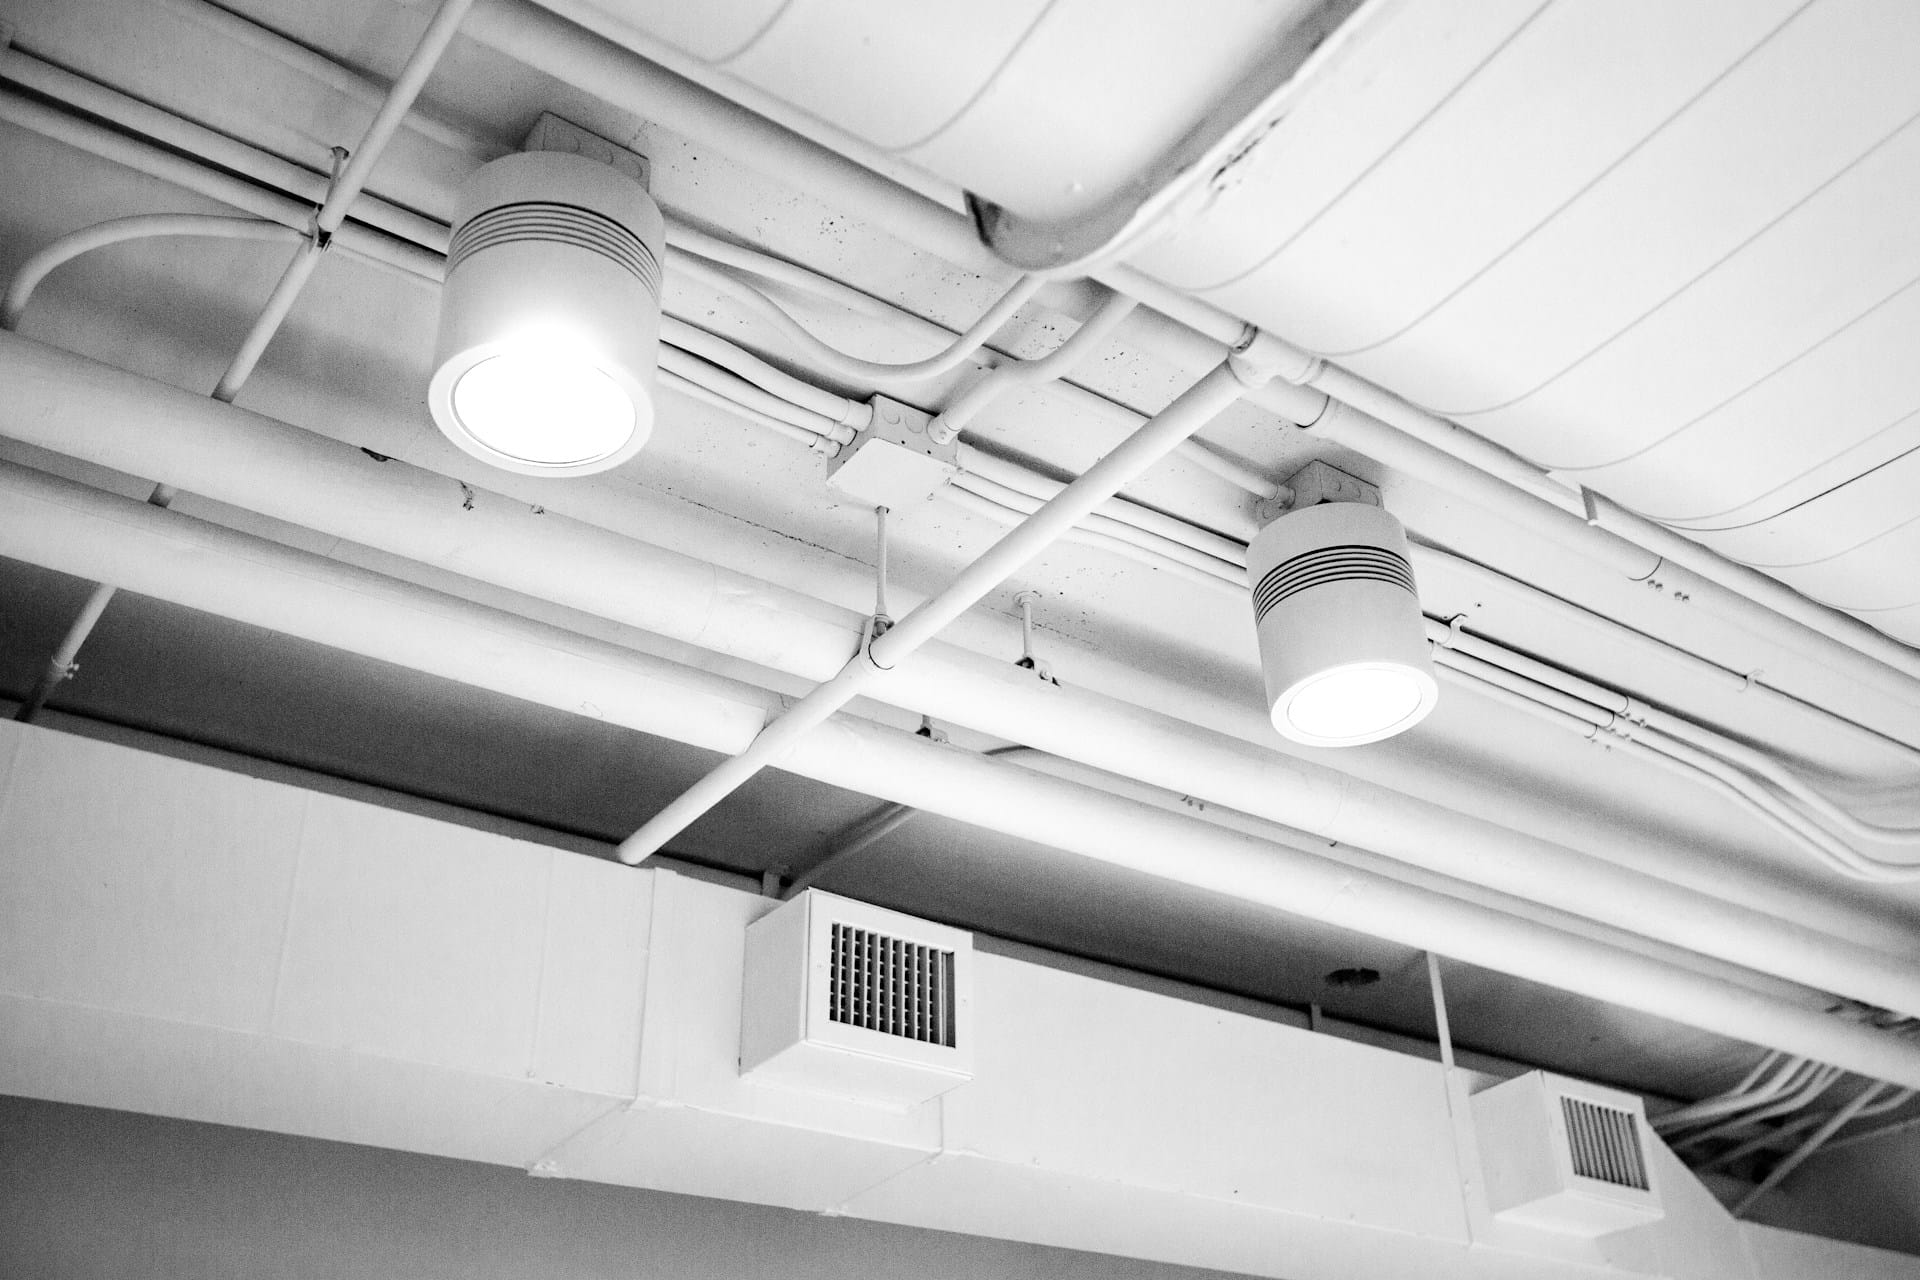
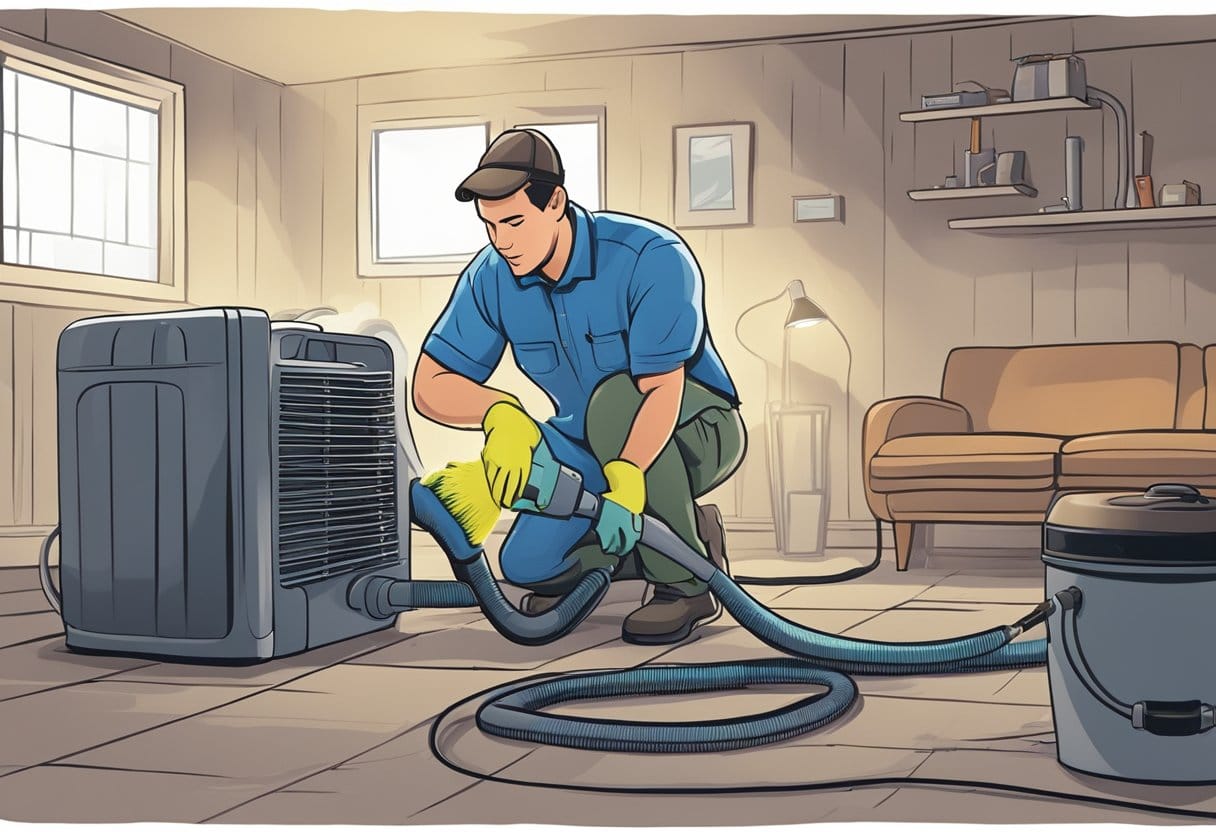
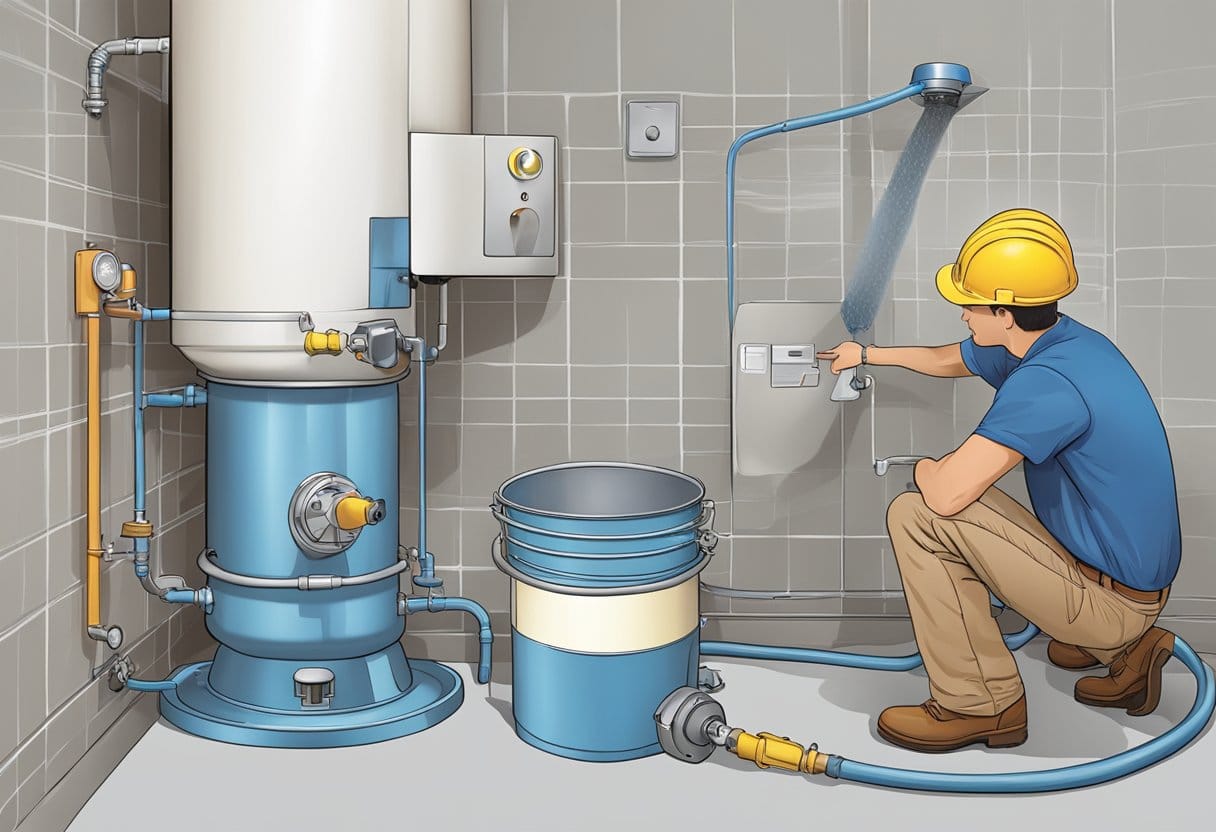
Regular maintenance tasks, including cleaning gutters, servicing HVAC units, and addressing plumbing issues, are crucial for extending the lifespan of your home systems and appliances. By investing in preventive care, you can avoid unexpected repair costs that can quickly add up.
Navigating home maintenance can be simplified by utilizing comprehensive services designed specifically for this purpose. By scheduling multiple maintenance tasks in one visit, you reduce reliance on various service providers and enhance the longevity of your home with consistent care.
Understanding Home Maintenance Costs
Home maintenance costs can significantly impact your financial planning as a homeowner. Understanding these costs includes recognizing the factors that influence them, budgeting effectively, and adopting appropriate maintenance strategies. Being informed can help you avoid unexpected expenses and keep your property in top condition.
Factors Influencing Maintenance Costs
Several factors can influence your home maintenance costs. The age and condition of your home, for instance, play a crucial role. Older homes often require more frequent repairs due to aging systems and structures.
Location is another determinant. Homes in areas with extreme weather conditions may incur higher maintenance costs, requiring additional protective measures. Additionally, the size of your home dictates the amount of maintenance needed, impacting labor and material expenses.
Average Costs Considerations:
- Older Homes: Higher annual maintenance costs compared to newer homes.
- Location Impact: Regions with harsh climates may require more extensive maintenance measures.
- Size of Home: Larger homes demand more resources for upkeep.
Budgeting for Regular and Emergency Repairs
Creating a comprehensive home maintenance budget is essential. Aim to set aside about 1% to 2% of your home’s value annually for routine maintenance. This proactive approach can cover regular tasks, such as lawn care and seasonal inspections.
Emergency repairs are unpredictable, so consider allocating additional funds for such events. This could be around 10% of your total home maintenance budget. Adequate budgeting for both routine and emergency repairs ensures that funds are available when unexpected issues arise.
Budgeting Tips:
- 1-2% of Home Value: Allocate for routine maintenance annually.
- 10% for Emergencies: Set aside extra funds for unforeseen repairs.
Proactive vs Reactive Maintenance Strategies
Adopting proactive maintenance strategies can significantly reduce long-term costs. Regularly scheduled maintenance tasks, such as cleaning gutters and inspecting HVAC systems, help prevent costly repairs down the line.
Utilizing services like window cleaning and dryer vent cleaning can also extend the lifespan of your home systems. A proactive approach prioritizes maintaining your home’s condition rather than waiting for problems to arise.
Conversely, reactive maintenance may lead to higher costs and inconvenience. By focusing on prevention through consistent upkeep, you can save money and ensure the longevity of your property.
Maintenance Approaches:
- Proactive: Regular inspections and upkeep to prevent issues.
- Reactive: Addressing problems after they occur, often at a higher cost.
Essential Home Maintenance Tasks
Maintaining your home involves a variety of essential tasks to ensure its longevity and comfort. Regular attention to indoor areas, outdoor spaces, and seasonal shifts can prevent costly repairs and enhance the overall value of your property.
Indoor Maintenance Checklist
To keep your home in top condition, focus on key indoor maintenance tasks. Start with HVAC maintenance, which includes cleaning or replacing filters every 1-3 months. This ensures efficient airflow and prolongs system life.
Regularly check smoke detectors and replace batteries annually. Dust and clean ceiling fans and air vents to improve air quality.
Finally, a deep clean of your refrigerator, along with the coils and components, will enhance energy efficiency. Performing these tasks regularly helps you avoid larger issues down the line.
Outdoor Maintenance and Landscaping
Outdoor spaces require dedicated attention to maintain curb appeal and functionality. Gutter cleaning should be done at least twice a year to prevent water damage and mold growth. Clogged gutters can lead to serious structural problems.
Lawn care is essential too. Mow regularly, aerate the soil, and apply mulch to promote growth. Don’t forget to inspect outdoor lighting and replace bulbs as needed.
Additionally, power washing driveways and patios can enhance the look of your home while preventing the buildup of dirt and grime.
Seasonal Maintenance Guide
Adapting your maintenance tasks to the seasons is crucial for home preservation. In spring, check your roof for damage after winter and clean gutters.
Summer is the optimal time for HVAC maintenance; schedule professional servicing to ensure optimal performance during peak use.
During fall, prioritize gutter cleaning again and prepare your landscaping for winter by trimming trees and bushes.
Finally, in winter, check for drafts around windows and doors; installing weatherstripping can improve energy efficiency. By scheduling these seasonal tasks, you’ll keep your home comfortable and safe year-round.
Repair and Replacement Considerations
Maintaining your home involves careful consideration of when repairs are urgent, understanding costs associated with common repairs, and knowing when to upgrade or overhaul systems or appliances. This information can help you manage both your budget and your home’s longevity effectively.
Assessing Repair Urgency
When assessing the urgency of repairs, consider the potential impact on your home’s safety and functionality. Issues like a leaking roof require immediate attention, as delaying repairs can lead to more significant damage, including mold growth or structural problems.
Actions to take include:
- Inspecting regularly: Regular checks can help spot early signs of wear.
- Prioritizing problems: Identify issues that could worsen over time and address them promptly.
A well-timed repair can save considerable expenses down the line.
Costs of Common Home Repairs
Home repair costs can vary widely based on the type of repair needed. For instance, roof repairs can range from $300 to $1,500, while full roof replacements may exceed $5,000. Regular maintenance can prevent many urgent repairs, extending the service life of costly systems.
Here are average costs for common repairs:
| Repair Type | Average Cost |
|---|---|
| Roof Repair | $300 – $1,500 |
| Roof Replacement | $5,000 – $10,000 |
| Appliance Repair | $50 – $500 |
| HVAC Repair | $150 – $400 |
Understanding these costs enables you to budget effectively for home maintenance.
When to Consider Upgrades or Overhauls
Sometimes repairs are no longer cost-effective, and upgrades may be necessary. If your appliances are consistently breaking down or becoming inefficient, replacing them could save energy costs and enhance functionality.
Consider these factors:
- Age: If appliances are older than 10-15 years, it may be time for a replacement.
- Cost of repairs: If the repair cost exceeds 50% of the replacement cost, an upgrade is wise.
- Energy efficiency: Modern appliances are often more energy-efficient, saving money in the long term.
Making informed decisions about upgrades can significantly enhance your home’s value and efficiency.
Financial Planning for Home Maintenance
Effective financial planning for home maintenance involves budgeting for regular upkeep, understanding its impact on property value, and factoring in insurance coverage. By anticipating costs, you can effectively manage expenses and protect your investment.
Incorporating Maintenance into Overall Home Expenses
Creating a home maintenance budget is critical. Allocate 1% to 4% of your home’s value annually for upkeep. For example, if your home is valued at $300,000, you should budget between $3,000 and $12,000 each year.
Consider dividing this budget into monthly savings for easier management. Prioritize routine maintenance tasks like gutter cleaning and HVAC servicing. Include a separate line for emergency repairs, which can arise unexpectedly, potentially derailing your budget if unplanned.
Impact of Maintenance on Home Value
Regular maintenance enhances your home’s market value. Properties in good condition tend to sell faster and for a higher price. Routine tasks like pressure washing and window cleaning can improve curb appeal, attracting potential buyers.
Additionally, homes with well-documented maintenance histories, including receipts for services, can benefit during appraisals. This documentation signals to buyers the property has been well cared for, making them more likely to invest in your home.
Insurance and Maintenance Costs
Understanding the link between maintenance and insurance is essential. Home insurance policies often require regular upkeep to remain valid. Neglecting maintenance can lead to higher premiums or denied claims for damages.
For instance, failing to maintain your roof can lead to leaks; your provider may refuse compensation if improper care is cited. Review your policy to identify what maintenance is essential and keep records to mitigate risks. Proper maintenance not only protects your investment but also ensures compliance with your insurance requirements.
Challenges in Home Maintenance
Home maintenance presents various challenges that require careful consideration. You may encounter issues related to structural integrity, evolving economic conditions, and the unpredictable nature of emergency repairs. Understanding these challenges will help you better prepare for your responsibilities as a homeowner.
Addressing Maintenance in Older Homes
Maintaining an older home often involves unique challenges due to wear and aging. Older homes may have outdated electrical systems, plumbing, and insulation that require regular inspection and potential upgrades. Neglecting these areas can lead to significant safety hazards and costly emergency repairs.
It’s essential to invest in a thorough home inspection to identify existing issues. You’ll likely face higher maintenance and repair costs, as specific parts may be harder to source. Staying proactive can help maintain your home’s value and longevity.
Navigating Maintenance amid Economic Changes
Inflation and rising costs of living significantly impact home maintenance budgets. As supplies become pricier, you may need to adjust your spending on upkeep. This situation can make routine maintenance feel overwhelming when unexpected expenses arise.
A combination of inflation and supply chain issues might delay repairs and increase costs. Planning your budget and prioritizing essential maintenance tasks can help you navigate these economic conditions. Regular preventive maintenance can also minimize larger, unplanned expenses down the line.
Preparing for Unexpected Repairs
As a homeowner, unexpected repairs can take a toll on your time and finances. Events such as extreme weather can cause damage that requires immediate attention. Electrical issues can emerge from seasonal changes, leading to dire situations that need instant response.
Having an emergency fund specifically for home repairs can provide you more security. Consider annual inspections to proactively identify potential problems. This preparedness can mitigate the stress of dealing with emergency situations and ultimately save you money.
Frequently Asked Questions
Understanding the financial aspects of home maintenance is crucial for effective budgeting and planning. Here are some common inquiries that homeowners often have regarding maintenance costs.
How much should I budget for home maintenance on a monthly basis?
On average, you should set aside about 1% to 4% of your home’s value for annual maintenance costs. Breaking this down monthly, if your home is worth $300,000, a budget of $250 to $1,000 per month is reasonable.
What are the typical yearly home maintenance costs?
Average yearly home maintenance costs can range from $4,000 to $22,000, depending on the home’s age, size, and location. Some studies suggest a more modest range of $950 to $9,820 annually, emphasizing the variability based on individual circumstances.
How do home maintenance costs vary by state?
Home maintenance costs can differ significantly by state due to varying labor rates, material costs, and local regulations. For example, states with higher living costs, like California and New York, may have higher maintenance expenses than states with lower costs, like Mississippi or Arkansas.
What is the 1% rule for home maintenance, and how is it applied?
The 1% rule suggests homeowners should plan to spend 1% of their home’s value on maintenance each year. This rule provides a straightforward guideline for budgeting and can help ensure that you are prepared for routine care and necessary repairs.
Can home maintenance costs be considered for tax purposes?
Generally, home maintenance costs are not tax-deductible unless they are directly related to generating income, such as for rental properties. It’s advisable to keep detailed records of any expenses for consultation with a tax professional.
How is a maintenance fee for a house calculated?
A maintenance fee may be calculated based on the size and age of the home, the type of maintenance required, and the frequency of those services. Homeowners often consider average costs for services like landscaping, HVAC maintenance, and routine inspections when determining their budget.