(248) 297-3485

(248) 297-3485

How to Clean Out Your Air Ducts: A Step-by-Step Guide for a Healthier Home

Cleaning your air ducts is a crucial step in maintaining good indoor air quality. By ensuring your air ducts are clean, you can significantly reduce allergens and pollutants in your home, leading to a healthier living environment. This process not only improves the air you breathe but also enhances the efficiency of your HVAC system, potentially saving you money on energy bills.

Many homeowners overlook their air ducts, yet they play a vital role in your home’s air circulation. Neglecting to clean them can lead to a buildup of dust, mold, and other contaminants, which can harm your indoor air quality. Understanding the steps to effectively clean your air ducts empowers you to take charge of your home maintenance.

In this article, you will learn practical techniques for cleaning your air ducts, ensuring both improved air quality and the longevity of your HVAC system. Whether you choose to tackle this task yourself or hire a professional, knowing how to clean out your air ducts will benefit both you and your home’s overall health.

Understanding Air Ducts and Their Function

Air ducts are crucial components of your HVAC system, responsible for distributing heated or cooled air throughout your home. Properly maintained ducts can enhance air quality, improve efficiency, and prolong the life of your heating and cooling system.

Components of Your HVAC System

Your HVAC system comprises several components, with ducts being integral to its operation. The primary types of ducts include:

  • Supply Ducts: These deliver conditioned air to various rooms.
  • Return Ducts: These bring air back to the HVAC unit to be reheated or cooled.

These ducts form a network that allows for effective air circulation. The efficiency of this network affects not only how well your system operates but also overall comfort levels in your home. Blockages or inefficiencies in ductwork can lead to uneven heating or cooling and increased energy costs, making regular maintenance vital.

The Importance of Indoor Air Quality

Indoor air quality (IAQ) directly influences your health and comfort. Air ducts can accumulate dust, allergens, and pollutants over time. This buildup can greatly affect the air quality in your home. Breathing in contaminated air can lead to respiratory issues and exacerbate allergies.

To maintain good IAQ, regularly scheduled duct cleaning is important. Changing air filters every 1-3 months also helps keep your HVAC system running efficiently while reducing airborne particles. Ensuring clean air ducts supports optimal airflow and enhances the performance of the entire HVAC system.

Signs That Your Air Ducts Need Cleaning

Recognizing when your air ducts require cleaning is crucial for maintaining indoor air quality and system efficiency. Several indicators can signal that it’s time to take action.

Visible Mold Growth Inside Ducts

If you observe any visible mold growth inside the ducts, this is a significant concern. Mold thrives in damp environments, and its presence indicates moisture issues within your HVAC system. Mold spores can become airborne, leading to health problems such as allergies and respiratory issues. Key signs of mold include dark spots or fuzzy growths in the duct interiors. If you notice these, it’s essential to contact a professional for inspection and cleaning. Even small patches of mold can release spores into your home, affecting air quality.

Excessive Dust and Debris

Accumulation of dust and debris around vents or within your air ducts is another clear sign that cleaning is needed. If you see dust particles blowing out of the vents when your HVAC system is running, this indicates that your ducts are harboring allergens and contaminants. Dust buildup can worsen allergy symptoms and decrease the efficiency of your system. To address this, consider performing regular checks. Ensure you clean or replace air filters frequently to minimize dust circulation. If the dust persists, professional cleaning can help restore proper airflow and improve your indoor environment.

Pest Infestation and Biological Growth

Pests such as rodents or insects can infiltrate your ductwork, leading to biological growth. If you find signs, such as droppings or nesting materials near registers, this is a strong indication of an infestation. Pests not only contaminate the air but can also lead to further issues like mold or mildew growth if moisture is present. Professional cleaning can eliminate these threats and prevent further complications. Ensure to address any pest issues promptly to protect both your ducts and your home’s air quality.

Preparation for Duct Cleaning

Preparing for duct cleaning is essential to ensure an effective and safe process. Taking specific safety measures and conducting an initial assessment of your ductwork will greatly enhance the outcome of your cleaning efforts.

Safety Measures and Equipment

Before you begin, ensure you have the right safety equipment. A quality dust mask is crucial to protect your lungs from dust and contaminants while you clean. Eye protection, like goggles, will prevent debris from getting into your eyes.

Gather necessary tools including a cleaning brush and duct cleaning extensions. If you are using a vacuum, ensure it’s powerful enough to handle the dust and debris. Prioritize safety by turning off your HVAC system to avoid any accidental air circulation that could release dust. Consider wearing gloves to protect your hands while handling dirty materials.

Initial Assessment of Ductwork

Conduct a thorough inspection of your ductwork before cleaning. Check for visible signs of dust buildup, mold, or any other contaminants. Look for any blockages that may require attention. This assessment lets you know the extent of cleaning required.

Make note of areas needing special attention and access points that may be obstructed. Ensure that furniture or objects near vents are moved out of the way to facilitate easy access. Document any damaged sections of ducts that may need repairs. This preparation allows you to create an effective cleaning plan, ensuring you achieve clean air ducts efficiently.

Executing the Cleaning Process

Cleaning your air ducts involves several crucial steps that ensure effective removal of dust and debris. From removing vent covers to applying sanitizers, each task plays a significant role in maintaining air quality.

Removing Vent Covers and Inspection

Begin by turning off your HVAC system to ensure safety. Carefully remove the vent covers from the floors or walls. Use a screwdriver if necessary to avoid damaging the covers.

Once removed, inspect the ductwork for signs of dust accumulation and mold. This will help you assess the level of buildup. Identifying potential problems early can guide your cleaning approach.

Collect any visible debris from the vent openings using a shop vac. This preliminary cleaning will make further steps more effective. After thorough inspection, ensure all covers are securely placed in a designated clean area to avoid contamination.

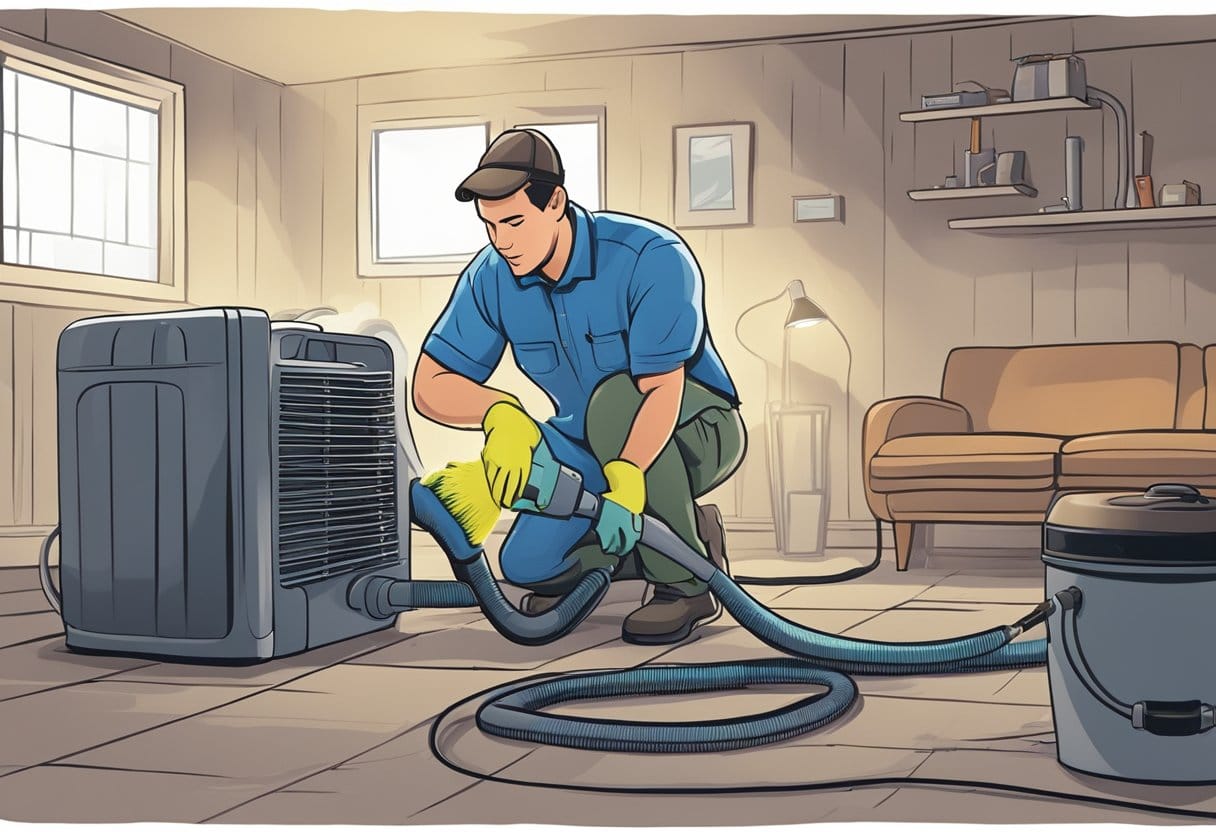
Cleaning with Brushes and Vacuums

For effective duct cleaning, employ a combination of a high-powered vacuum and a rotary brush. Start by inserting the brush into the ductwork, scrubbing the walls to dislodge any buildup. The rotary motion will help remove stubborn debris.

Simultaneously, use a high-powered vacuum to suck out dislodged particles. This dual approach ensures a more thorough clean. You can use attachments suited for residential ductwork for better reach.

Pay special attention to bends and turns in the duct system, as these areas often collect debris. Continue the process until all ducts appear clean. This method significantly improves your HVAC efficiency and air quality.

Applying Sanitizers and Sealants

After cleaning, consider applying chemical biocides and sanitizers to combat any remaining germs and mold spores. Ensure you follow the manufacturer’s instructions to avoid damaging your ductwork.

After sanitization, you might choose to apply sealants. These can protect against future contamination and dust accumulation. Focus on areas that are prone to leaks.

This final step not only enhances air quality but also prolongs the effectiveness of your cleaning efforts. Remember, consistency is key, so schedule regular duct cleaning to maintain optimal air quality in your home.

Maintaining Ductwork Post-Cleaning

Proper maintenance of your ductwork after a cleaning session is essential to ensure long-lasting benefits. By following specific measures, you can significantly improve HVAC efficiency and prolong the cleanliness of your air ducts.

Filter Replacement and System Maintenance

Regularly replacing your HVAC filters is crucial for maintaining optimal airflow and indoor air quality. It is recommended to change filters every one to three months, depending on usage and filter type. Using high-efficiency particulate air (HEPA) filters can trap microbiological contaminants, allergens, and dust more effectively.

Additionally, schedule regular maintenance for your HVAC system. This should include inspections by professionals who can identify potential issues, clean the system components, and provide tips on airflow optimization. Well-maintained ductwork results in reduced energy costs and extends the life of your HVAC system.

Strategies for Preventing Future Contamination

To keep your ductwork clean longer, implement a few preventive measures. Start with regular vacuuming of vents and return air ducts to limit dust accumulation. Consider investing in air purifier systems that filter the air continuously.

Another effective strategy is to maintain consistent humidity levels in your home. High humidity can foster the growth of mold and other contaminants. Using dehumidifiers in damp areas can reduce moisture, enhancing air quality and reducing cleaning frequency.

Engaging in these practices not only minimizes maintenance costs but also promotes a healthier living environment.

Frequently Asked Questions

Understanding the cleaning process and maintenance of air ducts can greatly enhance your home’s air quality and efficiency. Here are some common questions that homeowners often ask regarding air duct cleaning.

Are there any benefits to having my air ducts professionally cleaned?

Yes, professional air duct cleaning can significantly improve indoor air quality. Clean ducts can reduce allergens and pollutants circulating in your home. Additionally, a clean system may enhance HVAC efficiency, potentially lowering your energy bills.

What are the signs that indicate my air ducts need cleaning?

Look for increased dust accumulation in your home, clogged vents, or a musty odor when the HVAC system is running. If you notice a significant drop in airflow or persistent respiratory issues among household members, these can also be strong indicators that it’s time for a cleaning.

Can I clean my air ducts myself, and what equipment will I need?

Yes, you can clean your air ducts yourself, but proper equipment is essential. You will need a vacuum with a HEPA filter, a cleaning brush, and possibly an extension pole. Protective gear such as gloves, goggles, and a dust mask should also be worn to minimize health risks during the cleaning process.

How often should air duct cleaning be performed in a residential property?

Typically, it is recommended to clean air ducts every three to five years. However, if you have pets, allergies, or live in a dusty environment, you may want to consider cleaning them more frequently to maintain air quality.

What should I expect to pay for professional air duct cleaning services?

The cost for professional air duct cleaning varies depending on several factors, including the size of your home and the extent of cleaning required. On average, you can expect to spend between $300 to $500. It is advisable to get quotes from multiple service providers to ensure you are receiving a fair price.

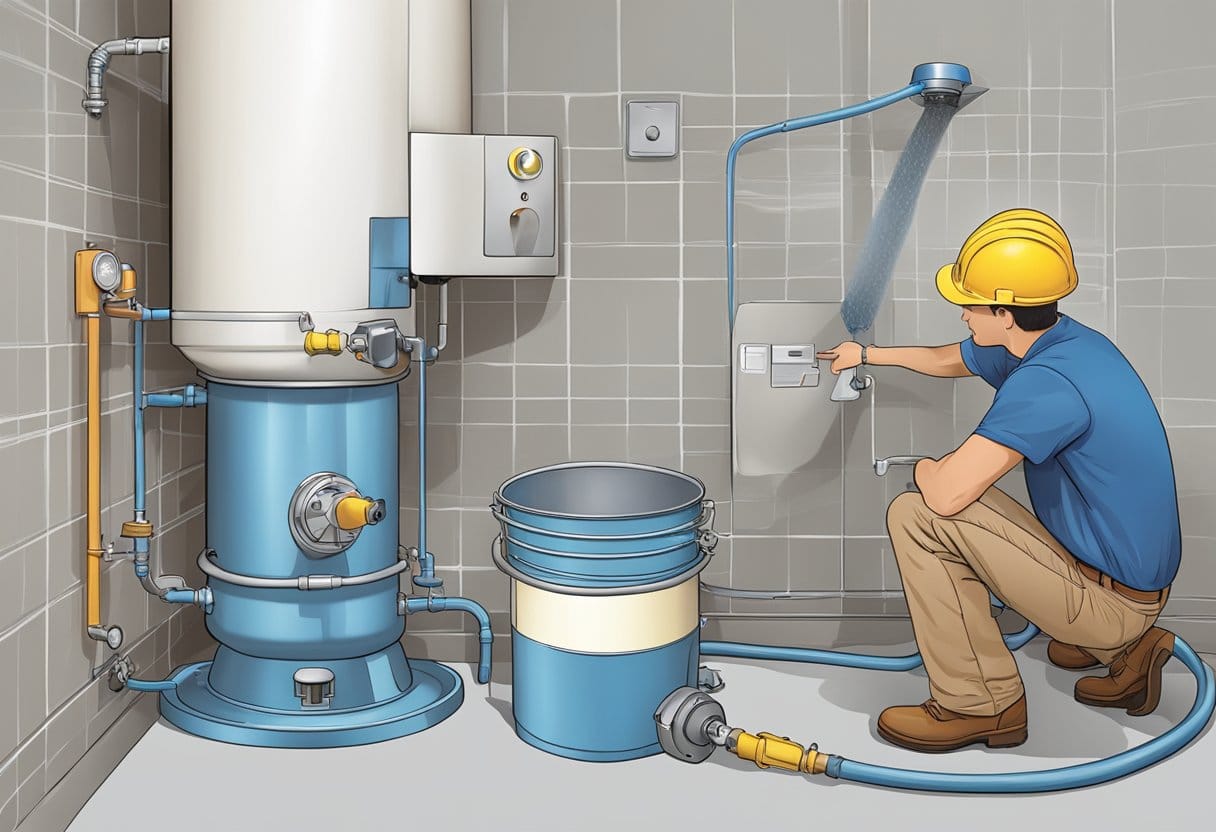
How does the air duct cleaning process work when done by professionals?

Professional cleaners typically start with a thorough inspection of your HVAC system and ductwork. They will use specialized tools to dislodge and remove dirt, dust, and debris. A powerful vacuum is then employed to extract the contaminants, ensuring a comprehensive clean and improved airflow within your system.


Is It Too Late to Drain My Water Heater? Essential Considerations for Homeowners

Water heaters are essential for everyday comfort, but neglecting their maintenance can lead to significant issues. It is never too late to drain your water heater, and doing so can enhance its efficiency and prolong its lifespan. Regularly draining your water heater helps remove sediment buildup, which can impact performance and heating efficiency.

If you’ve been wondering about the right time to perform this task, rest assured that consistent maintenance can prevent costly repairs down the line. You may not notice immediate problems, but over time, a neglected water heater can lead to reduced hot water supply and increased energy bills. Taking a proactive approach ensures your home remains comfortable and that your appliances perform optimally.

Understanding Water Heater Maintenance

Maintaining your water heater is essential to ensure its efficiency and longevity. Key aspects include identifying sediment buildup and understanding the importance of regular draining.

Identifying Sediment Buildup

Sediment buildup is a common issue in hot water tanks. Over time, minerals like calcium and magnesium settle at the bottom of the tank. This accumulation can lead to several problems.

  1. Water Quality: The presence of sediment can adversely affect water quality. You might notice cloudiness or a strange odor.
  2. Reduced Energy Efficiency: Sediment acts as an insulating layer, making it harder for the heating element to warm the water. This requires more energy, increasing utility bills.
  3. Premature Failure: Excessive buildup can lead to tank corrosion and premature failure, necessitating expensive replacements.

To prevent these issues, regular checks for sediment are advisable.

Importance of Regular Draining

Draining your water heater is crucial for maintaining efficiency. Regular maintenance helps prolong the lifespan of the unit and enhances its performance.

  1. Energy Efficiency: Draining removes sediment, which can improve the tank’s heating efficiency. This ensures you get hot water faster and at a lower cost.
  2. Preventing Corrosion: Regularly draining the tank helps remove corrosive particles that accumulate over time. This keeps the inner tank walls safe from deterioration.
  3. Avoiding Costly Repairs: Timely maintenance reduces the risk of leaks and other significant failures. Repairing or replacing components can add up quickly, making preventive care essential.

Establishing a routine for draining your tank can save you from more significant issues down the line.

Preparing to Drain Your Water Heater

Draining your water heater requires careful preparation to ensure safety and effectiveness. You must take specific safety measures and gather the right tools and materials. This proactive approach not only protects you but also helps maintain your water heater’s efficiency.

Safety Measures

Before starting the draining process, ensure your safety by taking several precautions. First, turn off the power supply to the water heater. For an electric water heater, unplug the unit or switch off the circuit breaker. For a gas water heater, set the thermostat to the “pilot” setting.

Next, shut off the water supply to the heater. Locate the cold water inlet valve, usually at the top, and turn it clockwise to prevent any water from entering the tank.

Additionally, relieve the pressure inside the tank by opening the pressure relief valve. This is crucial to avoid unexpected splashes and ensure safe draining.

Always wear protective gear, such as gloves and safety glasses, to safeguard yourself from hot water and debris.

Tools and Materials

Gathering the right tools and materials facilitates a smoother draining process. You will need a drain hose that fits the drain valve located at the bottom of the tank. A bucket or a drain pan is essential for collecting the expelled water.

Consider having a wrench on hand to help with opening the drain valve. A flathead screwdriver can also be useful for adjusting the pressure relief valve, if necessary.

Finally, ensure you have towels ready for spills and a thermometer to check the temperature of the water. Being prepared with these items minimizes complications during the draining process and helps maintain a clean working environment.

The Draining Process Step by Step

Draining your water heater involves several important steps to ensure the process is completed safely and effectively. Following this process will help prevent sediment buildup and maintain the efficiency of your unit.

Turning Off Power and Water Supply

Begin by turning off the power supply to your water heater. If you have an electric water heater, switch off the circuit breaker. For a gas heater, set the thermostat to the pilot setting. Next, turn off the cold water supply by locating the valve at the top of the heater and turning it clockwise.

Allow some time for the water to cool down; lukewarm water can cause burns. It’s important to ensure the temperature inside the tank has dropped significantly before you proceed. Testing a nearby hot water tap can help verify that hot water is no longer flowing. This step is critical for safety when draining a water heater.

Connecting Hose to Drain Valve

After ensuring safety measures, locate the drain valve at the bottom of the tank. It’s typically a plastic or metal valve that requires a hose for draining. Attach a standard garden hose to the drain valve by screwing it tightly to prevent leaks.

Make sure the other end of the hose is directed to a suitable drainage area, like a floor drain or outside where water can flow without causing damage. To prevent potential overflows, it’s wise to place a bucket below the drain valve, especially if you are unsure about the hose setup. This setup is essential for a successful draining process.

Flushing the Tank

With the hose connected, go back and open the drain valve. Water will begin to flow out of the tank through the hose. Allow it to drain completely until you see clear water running, indicating that sediment and debris have been cleared.

To enhance the flushing, consider turning on a hot water tap in your home. This action allows air to enter the system, which can speed up the draining process. If sediment is still present, you may need to repeat the flushing several times. This thorough approach ensures that your water heater is well-maintained and operates efficiently.

Post-Drain Heater Maintenance

After draining your water heater, proper maintenance is essential to ensure efficiency and longevity. Regular cleaning and refilling processes can help prevent issues such as mineral deposits and lime buildup caused by hard water.

Cleaning with Vinegar or Lime Descaler

To combat mineral deposits and lime buildup, consider using vinegar or a lime descaler. Vinegar is a natural solution that is effective in dissolving these deposits, making it a popular choice for cleaning water heaters.

  1. Prepare the Solution: Mix equal parts clear vinegar and water, or use a commercial lime descaler following the manufacturer’s instructions.
  2. Connect a Hose: Attach a garden hose to the drain valve and ensure it leads to a floor drain.
  3. Introduce the Solution: Open the drain valve and allow the vinegar or descaler to flow into the tank. Close the valve after a few minutes.
  4. Let It Sit: Allow the solution to sit for several hours. This process enables it to effectively break down any mineral deposits.
  5. Flush Again: After the sitting period, flush the tank with fresh water to remove the vinegar or descaler and the dissolved minerals.

Regular usage of these cleaning methods will maintain the efficiency of your water heater.

Refilling the Hot Water Tank

After cleaning, refilling the hot water tank is the next step. This process is crucial to restore its operation and ensure you have hot water available.

  1. Close the Drain Valve: Make sure the drain valve is securely closed before starting the refill.
  2. Open Inlet Valve: Locate the cold water inlet valve and open it to start filling the tank.
  3. Air Removal: Allow air to escape through the hot water taps in your home, which might sputter for a few minutes as the tank fills. This step ensures proper water flow.
  4. Check for Leaks: Monitor the area around the drain valve and the inlet to ensure no leaks develop as the tank fills.
  5. Heat the Water: Once the tank is full, you can turn on your water heater to begin heating the water.

By following these steps, you maintain your water heater’s performance and extend its lifespan.

Extending Heater Efficiency and Lifespan

Maintaining your water heater is essential for maximizing its efficiency and longevity. Regular upkeep can significantly impact your energy bills and ensure reliable hot water supply, especially in areas with hard water.

Frequent Maintenance Check-Ups

Scheduling regular maintenance check-ups for your water heater is crucial. Aim to have your unit inspected at least once a year. This allows for early detection of potential issues, which can save you from costly repairs.

During these inspections, focus on flushing the tank to remove sediment buildup. Sediment can insulate the heating elements, forcing them to work harder and increasing your energy bills by up to 30%.

Additionally, check the anode rod, which prevents tank corrosion. If this rod is heavily corroded, replacing it can extend the lifespan of your heater. Consistent maintenance leads to improved heating efficiency, lower energy consumption, and a longer-lasting water heater.

Adjusting for Hard Water Areas

If you live in an area with hard water, taking specific measures will help maintain your water heater’s performance. Hard water contains minerals that can accumulate in the tank, hindering efficiency.

Consider installing a water softener to reduce mineral buildup. This proactive step not only improves heating efficiency but also protects the integrity of your water heater.

Regularly draining the tank is also vital. Doing so helps eliminate accumulated minerals, ensuring the heating elements operate efficiently. In hard water areas, it’s beneficial to perform this maintenance every three months. By addressing the challenges of hard water, you can significantly enhance both your heater’s efficiency and its lifespan, ultimately saving you money on energy bills.

Deciding When to Upgrade

When considering an upgrade for your water heater, you’ll want to assess both the type of system and its energy efficiency. Understanding your options can influence your energy bills and overall home comfort.

Comparing Tank and Tankless Options

Tank water heaters store hot water for immediate use, while tankless models heat water on demand. If you have a large household that requires a lot of hot water, a tank heater, which typically ranges from 20 to 80 gallons, may suffice. However, these can lead to higher energy bills due to standby heat loss.

On the other hand, tankless water heaters offer an energy-efficient solution. They only heat water as needed, which can significantly reduce energy consumption. While tankless systems usually have a higher upfront cost, they can last longer—up to 20 years—and may save you money over time. Evaluating the initial investment versus long-term savings is crucial for your decision.

Evaluating Energy Consumption

Energy efficiency is a key factor when contemplating a water heater upgrade. Traditional tank heaters generally have an energy factor (EF) rating between 0.5 and 0.75, indicating how efficiently they convert energy into hot water. These heaters may contribute to higher energy bills, especially if your usage fluctuates.

In contrast, tankless water heaters often feature EF ratings above 0.9, illustrating superior energy performance. Given that they only activate when hot water is needed, they minimize energy waste.

To assess your current heater, look at your energy bills and consider how much hot water you typically use. An energy-efficient system can yield significant savings and contribute to a more eco-friendly home.

Frequently Asked Questions

Draining a water heater is a crucial maintenance task to prolong its lifespan and maintain efficiency. Here are some common questions you might have regarding the process and its importance.

Should I flush my water heater after 5 years?

Flushing your water heater after five years is recommended. At this age, sediment buildup can begin to affect performance. Regular flushing helps prevent issues and ensures your heater operates efficiently.

What are the pros and cons of flushing a water heater after 5 years?

The pros include improved efficiency, extended lifespan, and better water quality. However, if done incorrectly, it can lead to leaks or damage. Weighing the benefits against potential risks is essential before proceeding.

Is it advisable to flush a 15-year-old water heater?

Flushing a 15-year-old water heater is still advisable, especially if it hasn’t been done previously. Even older units benefit from sediment removal, although you should assess the overall condition and functionality before making any decisions.

How do I properly flush my water heater?

To flush your water heater, first, turn off the power or gas supply. Connect a hose to the drain valve, and open it to let the water and sediments flow out. After draining, briefly refill to flush out residual sediment, then close the valve and restore power.

How do I determine if my water heater needs to be flushed?

Signs that your water heater needs flushing include fluctuating water temperatures, strange noises, or a decrease in hot water supply. Additionally, if you notice discolored water, it might indicate sediment buildup that requires attention.

What are the consequences of not draining a hot water heater?

Neglecting to drain your hot water heater can lead to sediment buildup, causing reduced efficiency and higher energy bills. It can also result in unusual noises, a diminished hot water supply, and ultimately, a shorter lifespan for the unit. Regular maintenance can prevent these issues.