As a homeowner, you may wonder whether vent cleaning truly provides benefits. Vent cleaning can be effective, particularly when your home experiences issues such as dust buildup, allergens, or mold. Understanding the true impact of this service can help you make informed decisions regarding your home’s maintenance.
Many service providers claim their work can improve air quality and enhance your HVAC system’s efficiency. However, not all claims are equal. Knowing when and why to invest in vent cleaning will guide you in maintaining a healthier home environment.
Beneath the surface of these services lies a crucial consideration: Are these cleanings genuinely necessary for your situation? By exploring the factors that influence the effectiveness of vent cleaning, you can ensure that your investment leads to tangible improvements.
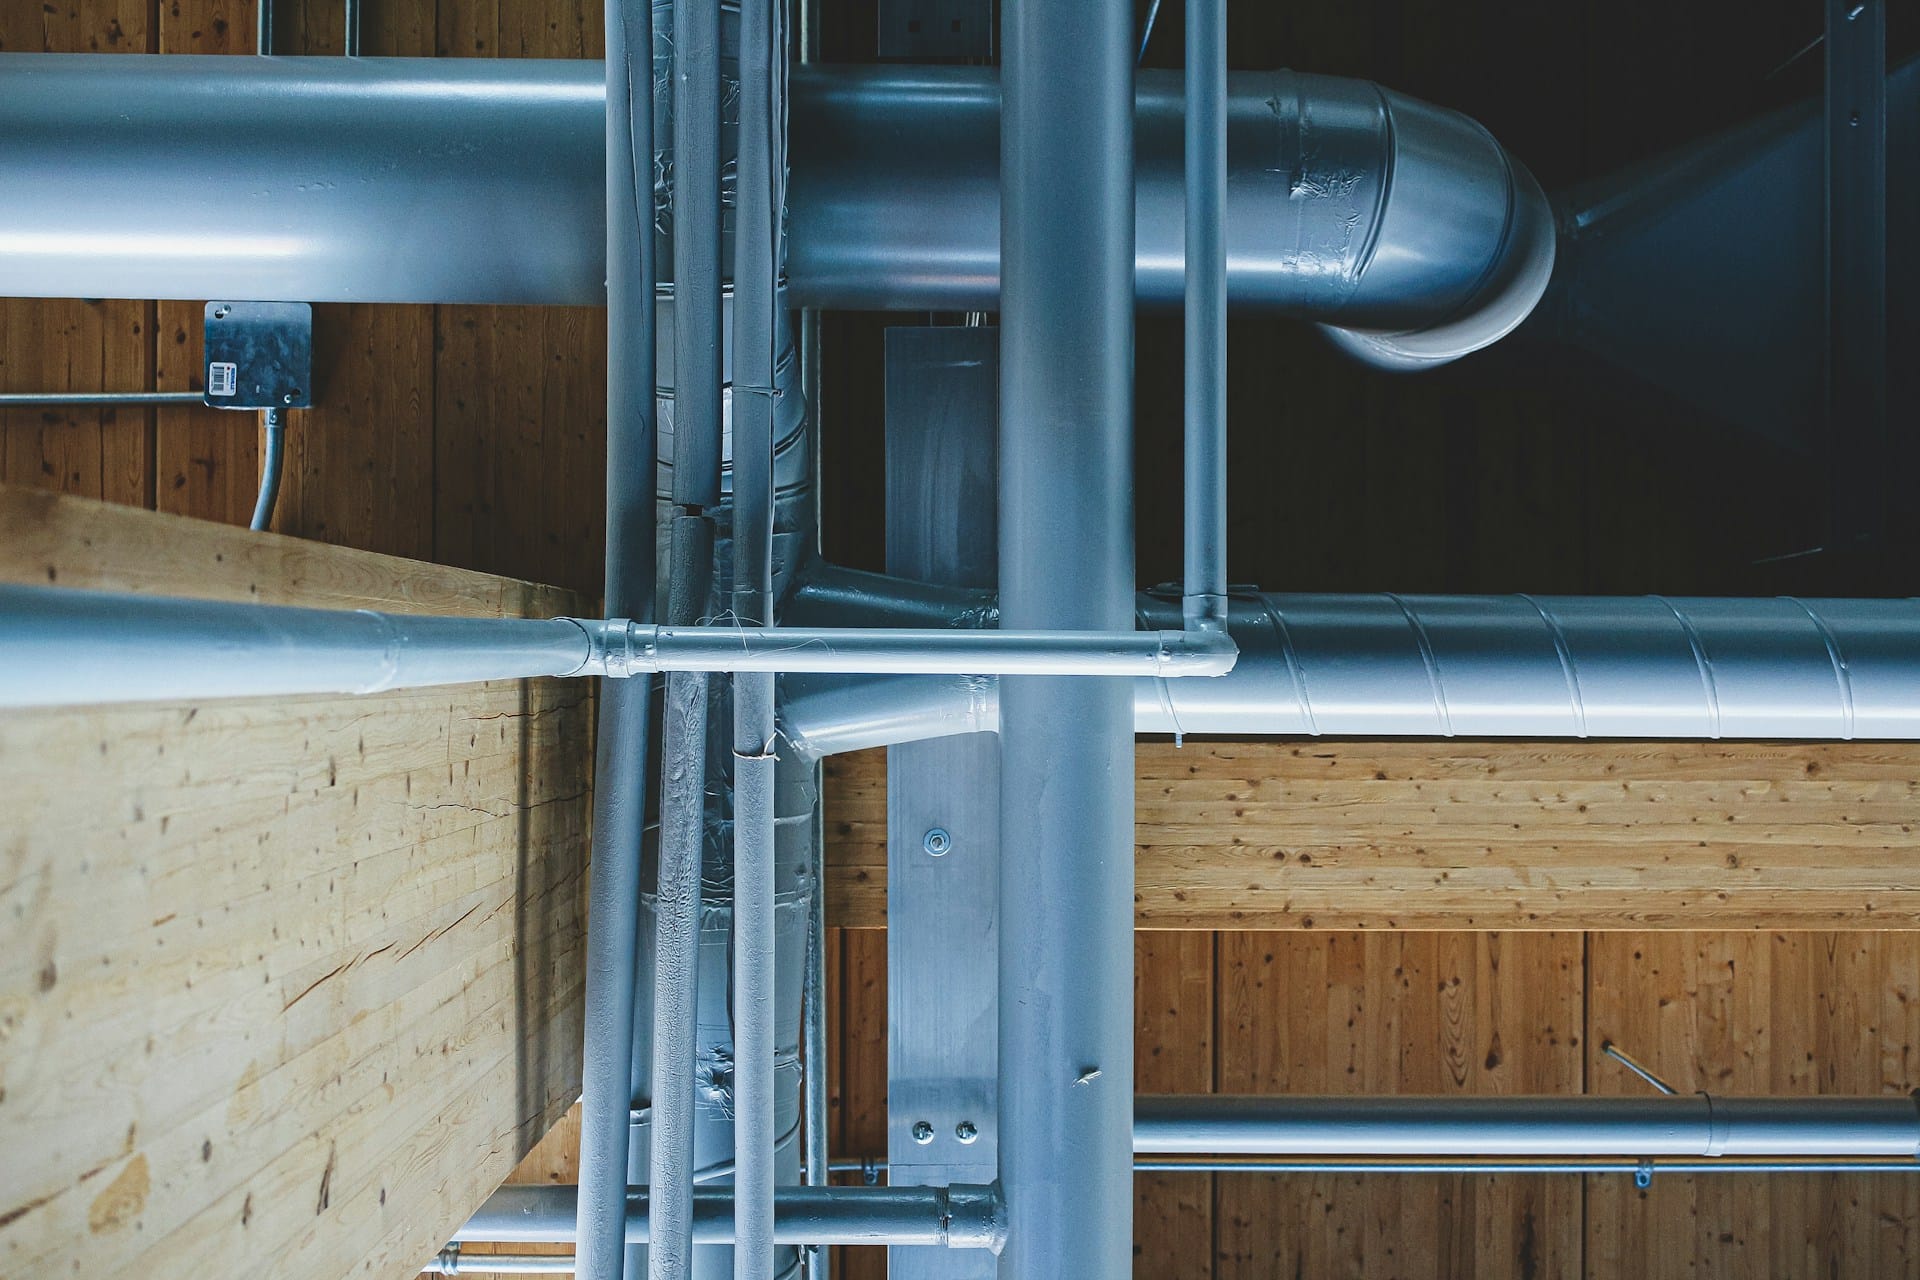
Understanding Air Duct Cleaning
Air duct cleaning is a process that removes dust, dirt, and other contaminants from your HVAC system’s ductwork. This service typically involves the use of powerful vacuums and specialized tools.
During the cleaning, professionals work to ensure that clean air ducts promote better indoor air quality. Regular cleaning can be beneficial for ensuring your forced air systems operate efficiently.
Key points about duct cleaning:
- Improves Air Quality: Removing debris can reduce allergens and irritants in your home.
- Enhances HVAC Efficiency: Clean ducts allow your system to run more efficiently, potentially lowering energy costs.
- Prevents Mold Growth: Moisture in ductwork can lead to mold, which cleaning can help prevent.
The cleaning procedure usually involves:
- Inspection: Technicians assess your ductwork condition.
- Cleaning: Using industrial-grade equipment, they remove contaminants from each duct.
- Final Check: A thorough inspection ensures everything is clean and functioning well.
By understanding these aspects, you can make informed decisions about whether air duct cleaning is right for your home. Ensure that you hire professionals who follow industry standards, such as those set by the National Air Duct Cleaners Association.
Benefits of Cleaning Your Ducts
Regular cleaning of your ducts offers significant advantages for both indoor air quality and the efficiency of your heating and cooling systems. It not only creates a healthier environment but also contributes to lower energy costs.
Improved Indoor Air Quality
Cleaning your ducts significantly enhances indoor air quality by removing dust, debris, and harmful contaminants. This process helps eliminate pollutants like mold growth, which can thrive in damp environments within ductwork.
Without regular maintenance, allergens such as dust mites and pet dander can accumulate, exacerbating health problems, particularly for those with allergies or asthma. Improved air quality creates a more comfortable living space, reducing the chances of respiratory issues and increasing overall wellbeing.
Proper ventilation also decreases the likelihood of stale air, promoting a fresher atmosphere. Investing in duct cleaning is a proactive measure you can take to safeguard your family’s health.
Enhanced HVAC Efficiency
A clean duct system significantly boosts the efficiency of your heating and cooling system. When ducts are filled with dust and debris, air cannot flow freely, forcing your HVAC unit to work harder.
This increased strain leads to higher energy consumption, which can raise your monthly utility bills. Regular cleaning can reduce this energy usage by 20-50%, offering considerable savings over time.
Moreover, a well-maintained system operates more effectively, providing consistent temperature control. Ultimately, investing in duct cleaning not only improves energy efficiency but also extends the lifespan of your HVAC system, leading to lower cleaning costs in the long run.
Signs Your Air Ducts Need Cleaning
Recognizing when your air ducts require cleaning is vital for maintaining a healthy home environment. Certain indicators, such as visible contamination and health-related issues, can guide you in making this assessment.
Visible Mold and Dust
During a visual inspection of your air vents, look for any visible signs of mold or dust buildup. If you see black or green patches, this may indicate mold growth, which can jeopardize your indoor air quality.
Dust accumulation in vents suggests that your air ducts may be trapping particulates. As air flows through these dirty air ducts, it circulates dust and allergens throughout your home, aggravating symptoms of allergies, asthma, and other respiratory issues.
Regular cleaning can eliminate this build-up and improve your overall air quality. Schedule a professional cleaning if you notice these signs to create a healthier living space.
Unexplained Health Symptoms
If you or your family members are experiencing unexplained health symptoms, it might be linked to your air ducts. Health problems like allergies, asthma attacks, and respiratory discomfort can occur when contaminants circulate through your home’s HVAC system.
You might notice increased sneezing, coughing, or sinus issues, particularly when your heating or cooling systems are running. This indicates that dust, mold, or debris may be present in your ducts.
Taking action by cleaning your air ducts can help alleviate these symptoms and create a better indoor environment. Regular maintenance can prevent these issues from recurring, promoting a healthier home atmosphere.
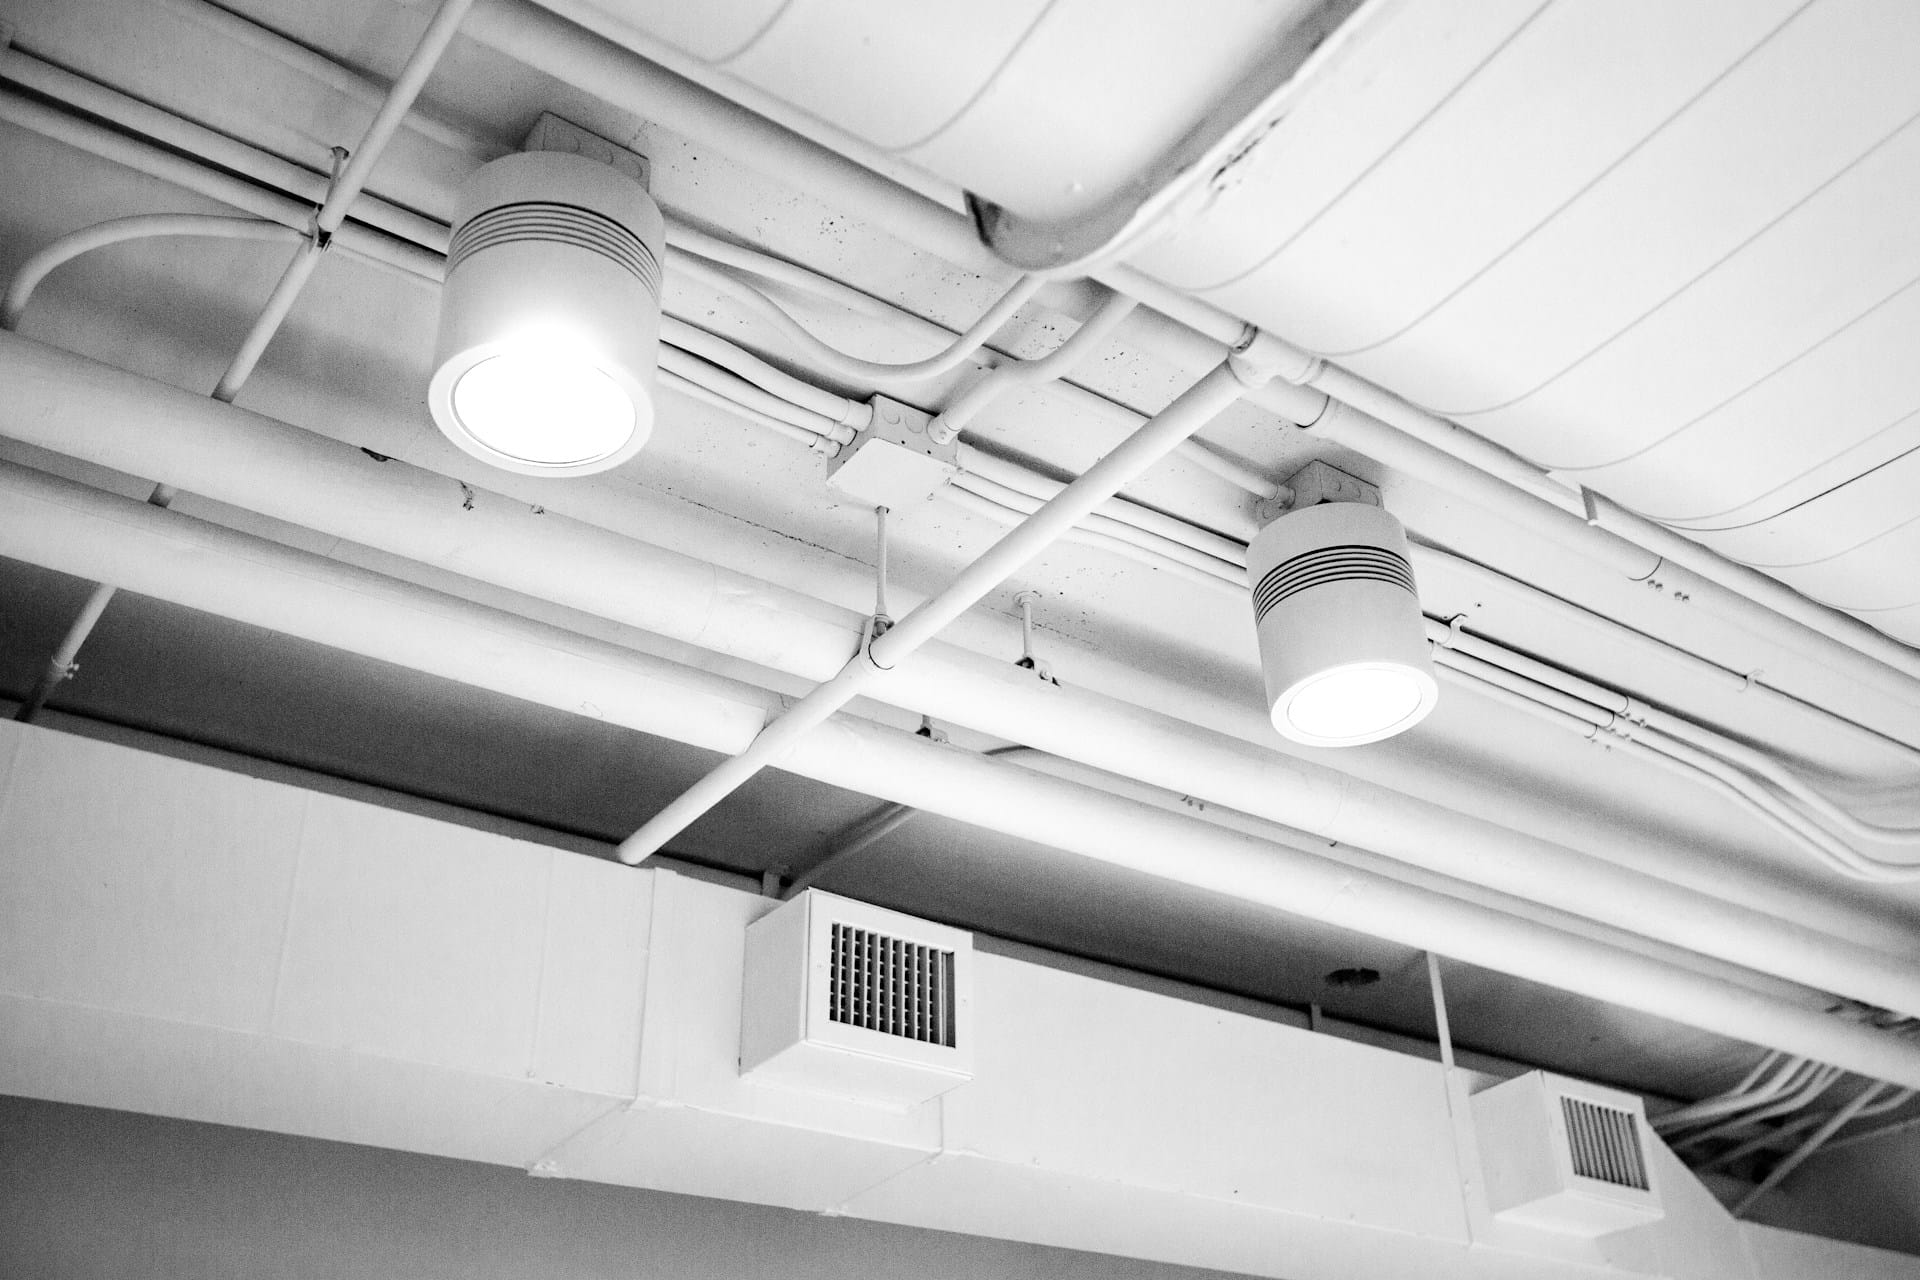
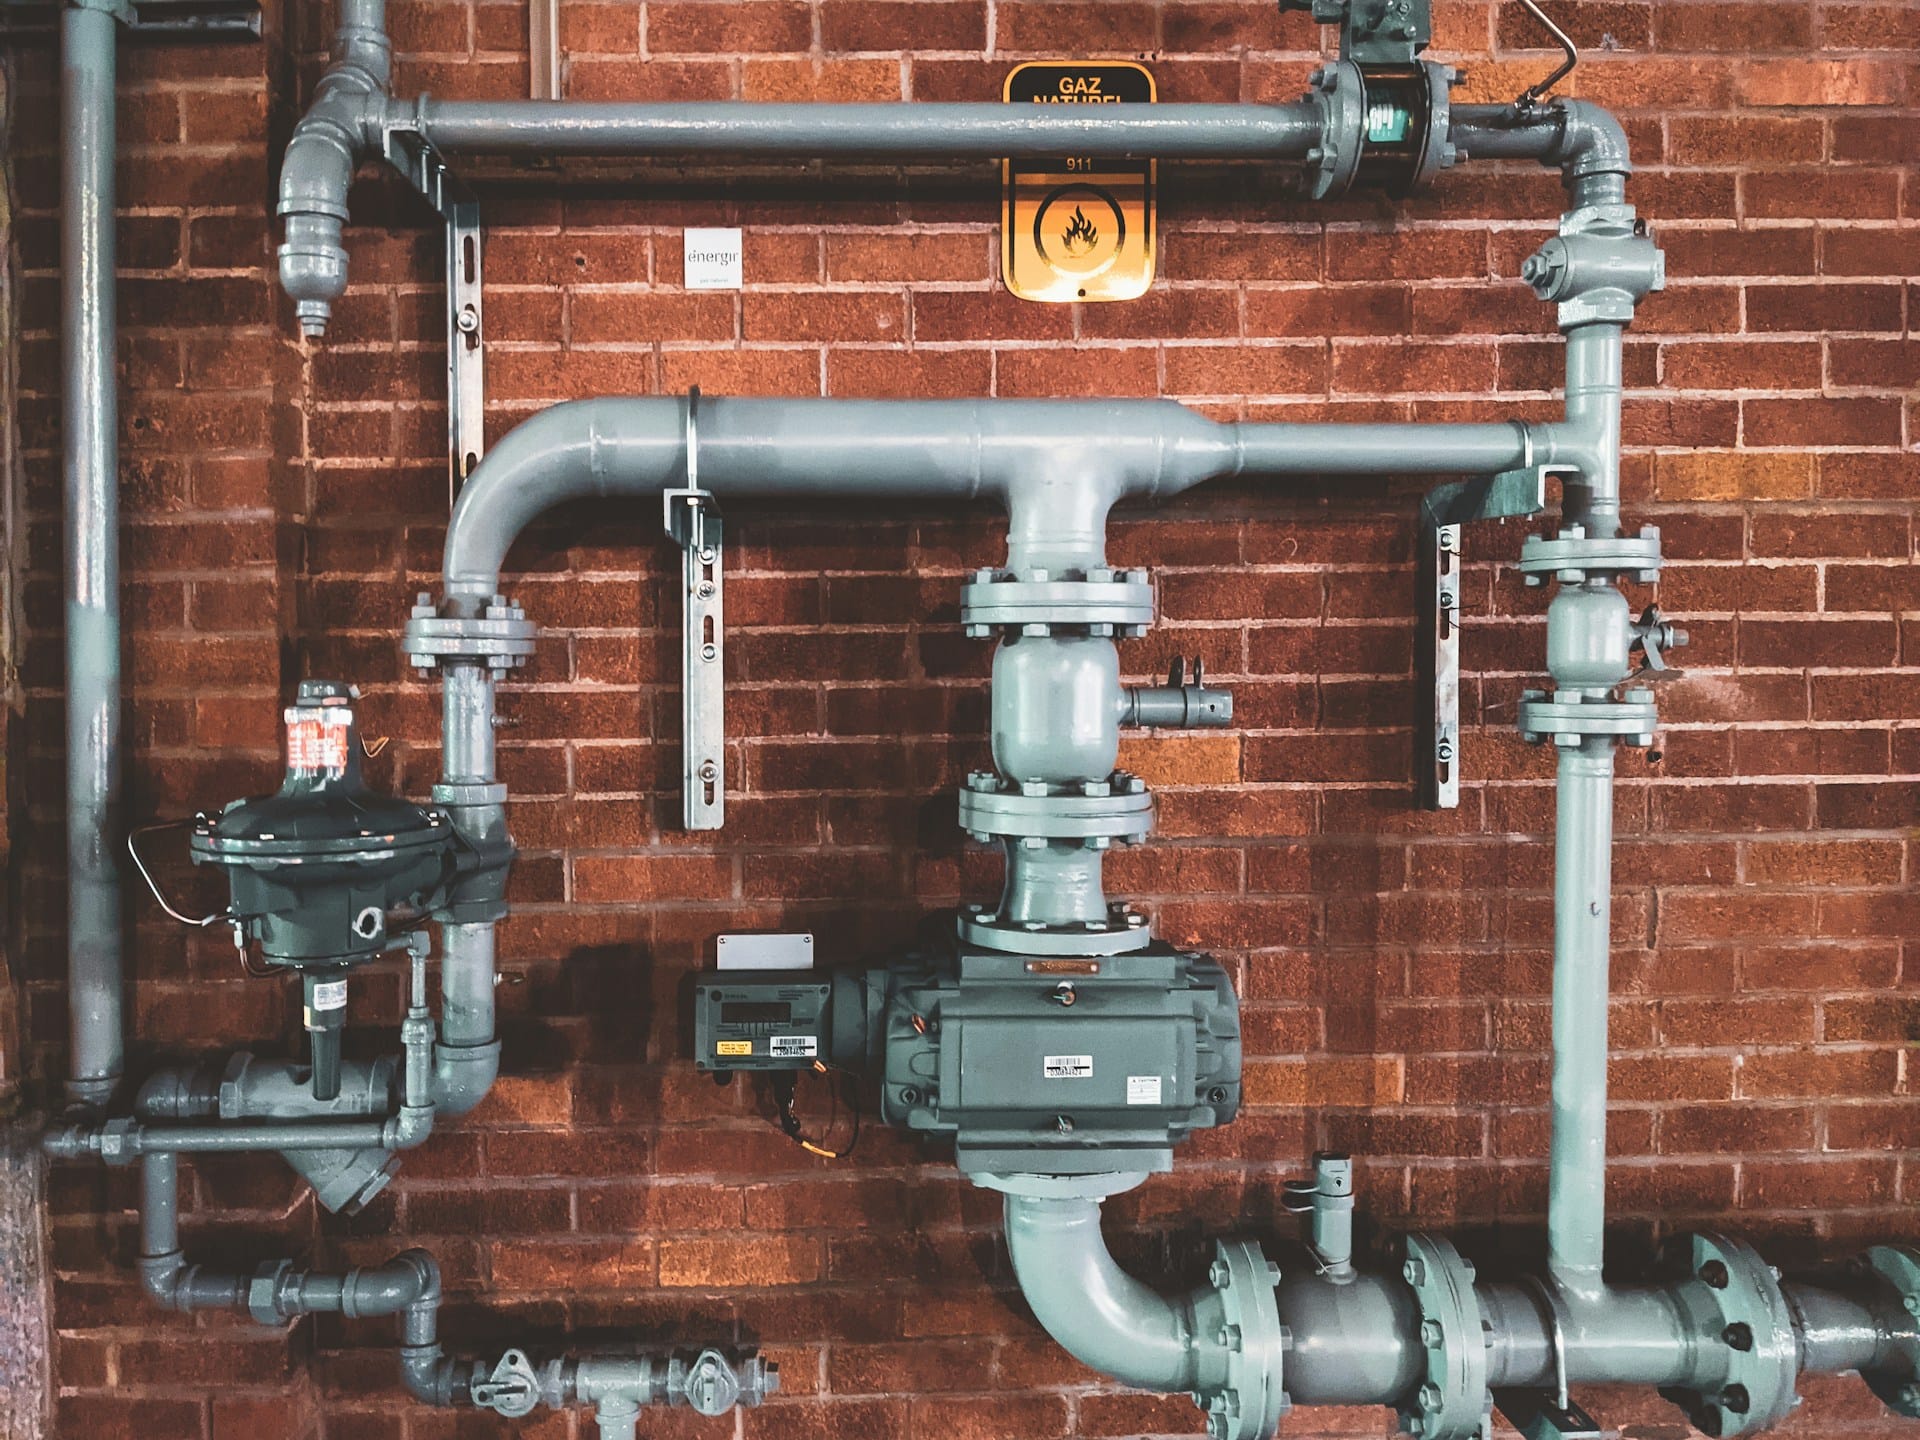
The Duct Cleaning Process
Understanding the duct cleaning process is crucial for ensuring your HVAC system operates efficiently. It typically involves two key phases: inspection and assessment, followed by the application of various cleaning techniques.
Inspection and Assessment
Before cleaning, a visual inspection of the air ducts is essential. This initial step allows professionals to assess the condition of your ducts and identify any issues. During the inspection, technicians pay close attention to the supply and return registers, air handler, and any visible accumulation of debris.
Professionals often use specialized cameras to get a clearer view inside the ducts. This detailed assessment informs them about the level of contamination and whether there are any signs of mold, pests, or leaks in the system. A thorough evaluation helps in determining the most effective cleaning method, ensuring that all potential issues are addressed.
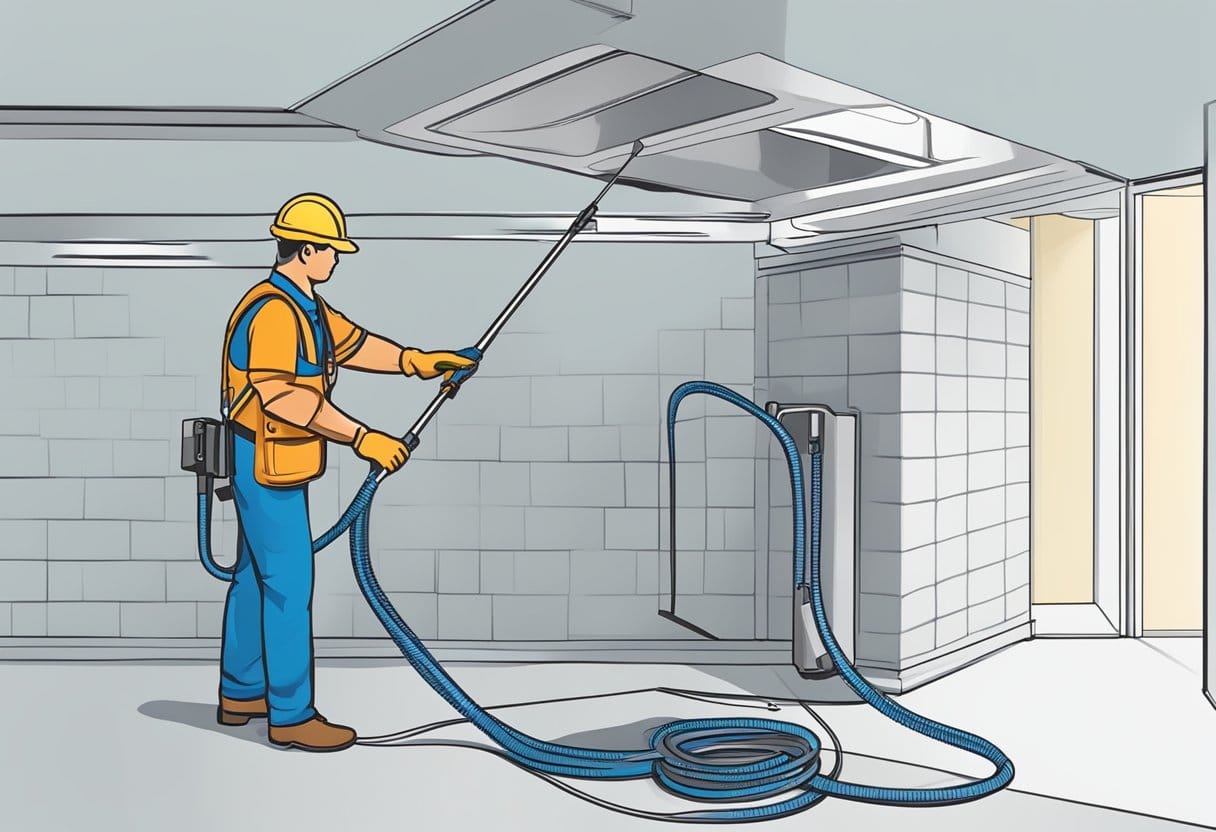
Cleaning Techniques
Once the inspection is complete, the cleaning process can begin. Professionals typically employ a negative pressure system, which uses a powerful vacuum collection device to extract dust and debris from the ducts. This method minimizes the risk of contaminants being released back into your home.
Techniques include brushing and air washing to dislodge stubborn particles. Using high-efficiency particulate air (HEPA) filters is crucial to capture tiny particles effectively. Furthermore, adhering to standards set by the National Air Duct Cleaners Association (NADCA) ensures that the cleaning meets professional guidelines, leading to a more thorough and safe cleaning outcome.
Choosing a Duct Cleaning Service
Selecting the right duct cleaning service is essential for effective results. Here are key factors to consider:
- Research Companies: Start by researching local duct cleaning companies. Look for those with good reviews and industry certifications.
- Check Certifications: Ensure the professional duct cleaner is certified by reputable organizations like the National Air Duct Cleaners Association. This certification indicates adherence to industry standards.
- Get Written Estimates: Request written estimates from multiple providers before making a decision. This helps you compare prices and services offered.
- Ask About Techniques: Inquire about the cleaning methods they use. A comprehensive approach that includes placing the entire duct system under negative pressure is recommended.
- Inquire About Services: Some duct cleaning companies offer additional services like dryer vent cleaning. This can be a convenient option if you’re looking to maintain multiple systems at once.
- Evaluate Experience: Consider the experience of the duct cleaning service. Companies with a proven track record are more likely to deliver satisfactory results.
Choosing a qualified duct cleaning service not only ensures cleaner air but also contributes to the longevity of your HVAC system. By taking time to evaluate your options carefully, you can make a well-informed decision.
Maintenance and Prevention
Maintaining your home’s air duct system is essential for efficiency and air quality. Preventive measures can significantly reduce the need for cleaning and enhance your HVAC system’s performance. Regular upkeep focuses on air filters and sealing ductwork to prevent air leaks.
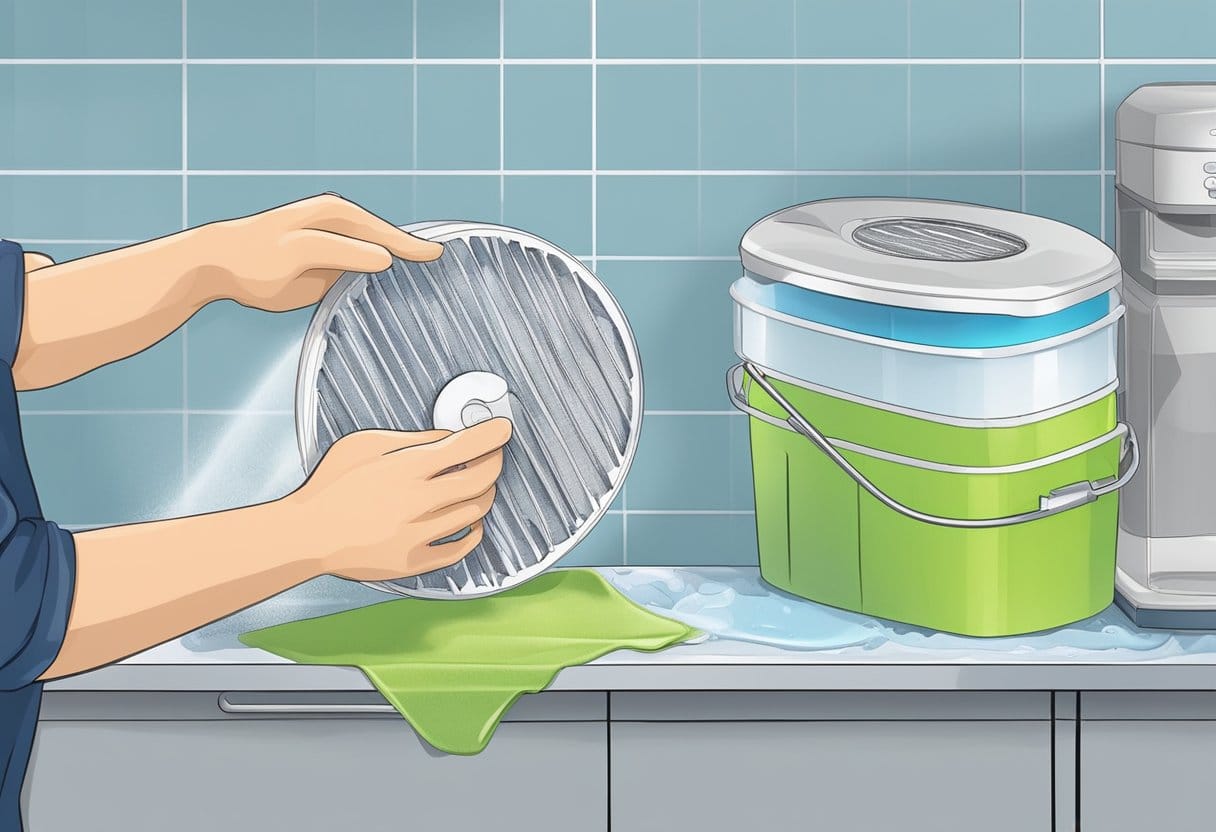
Regular Air Filter Replacement
Replacing air filters regularly is crucial for keeping your HVAC system functioning efficiently. Clogged filters restrict airflow, causing your blower motor to work harder, which can lead to increased energy costs. The Environmental Protection Agency recommends checking and replacing filters every 1-3 months, depending on usage and the type of filter.
Consider setting reminders on your calendar to ensure timely replacements. A clean air filter helps to capture dust, allergens, and debris, preventing them from circulating through your home. Using quality filters can also protect your heating and cooling coils, ultimately prolonging the lifespan of your system.
Sealing Ductwork
Sealing ductwork is another essential aspect of maintenance that can improve energy efficiency. Air leaks in duct systems can lead to significant energy loss, forcing your HVAC system to work harder. Use appropriate sealants to close off leaks, especially at joints and connections.
Inspect areas around the drain pan and where ducts attach to major components for signs of sealing issues. Addressing these leaks not only increases system efficiency but also enhances indoor air quality by reducing contaminants that may enter through unsealed areas. Regular checks can prevent costly cleaning and repair expenses down the line. Protecting your ducts ensures that your HVAC system operates smoothly and effectively.
Frequently Asked Questions
When considering air duct cleaning, you may have various questions about its effectiveness, costs, and signs that indicate a need for service. Understanding these aspects can help you make informed decisions regarding your home’s air quality and maintenance.
Is duct cleaning effective for improving indoor air quality?
Duct cleaning can contribute to better indoor air quality by removing dust, allergens, and contaminants from your ventilation system. However, the effectiveness can vary based on the condition of your ducts and the cleaning methods used. Professional services often employ specialized equipment, which can improve results significantly.
What are the potential risks associated with air duct cleaning?
Risks of air duct cleaning include damage to your ductwork if not performed correctly. Some companies may employ low-quality practices, which can exacerbate problems rather than resolve them. It’s crucial to choose a reputable service provider to mitigate these risks.
How much can I expect to pay for professional duct cleaning services?
Costs for professional duct cleaning typically range from $300 to $500 for an average-sized home. Prices can vary based on factors like home size, the extent of contamination, and the complexity of the duct system. Always get quotes from multiple service providers to ensure competitive pricing.
What are the signs that indicate the need for cleaning air ducts?
Signs that your air ducts may need cleaning include visible dust around vents, increased allergy symptoms, and unusual odors when your HVAC system operates. If you notice a buildup of dust or debris in your ducts or vents, it may be time to schedule a professional cleaning.
How often should ductwork be cleaned in a residential property?
It’s generally recommended to clean your ductwork every 3 to 5 years, depending on factors like household size, pets, and allergies. Additionally, if you undergo renovations or experience unusual dirt accumulation, consider cleaning your ducts sooner.
Can duct cleaning reduce the presence of dust in my home?
Yes, duct cleaning can help reduce dust levels in your home by removing build-up from the ducts. This process prevents dust from being circulated through your HVAC system and settling on surfaces, contributing to a cleaner living environment. Regular maintenance can enhance these results further.